
Many people have asked me to teach a class on how to can homemade pasta sauce, so I will make an attempt here to show how I do the process from start to finish.

Know that by using a slow cooker, the process of making sauce will take two days. One day to prep the vegetables and let them cook and one day to blend and process the sauce
I am going to tell you first tell you that my process will be different than what you may see online. My sauce is still safe to eat, so don’t worry about that. It is just less labor intensive and produces a slightly thinner sauce. The flavor is still really good, but the sauce will not look like what you buy from the store. The products you buy from the store are filled with added sugars, stabilizers, and thickeners. My sauce is filled with vegetables and spices.
DAY 1
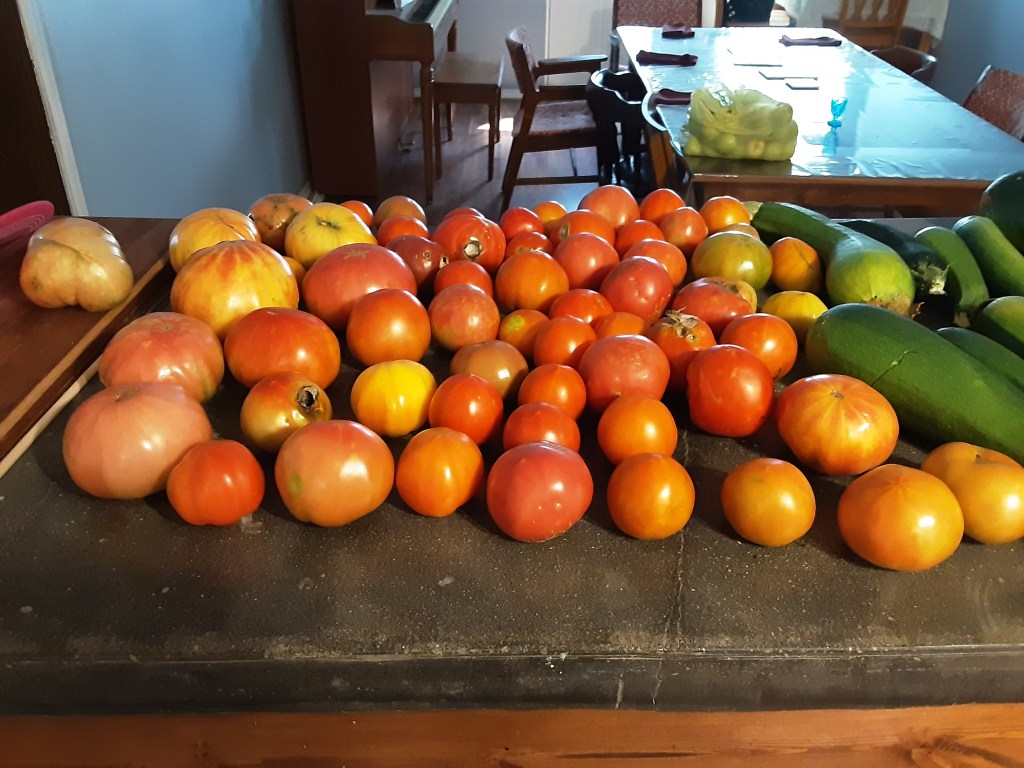
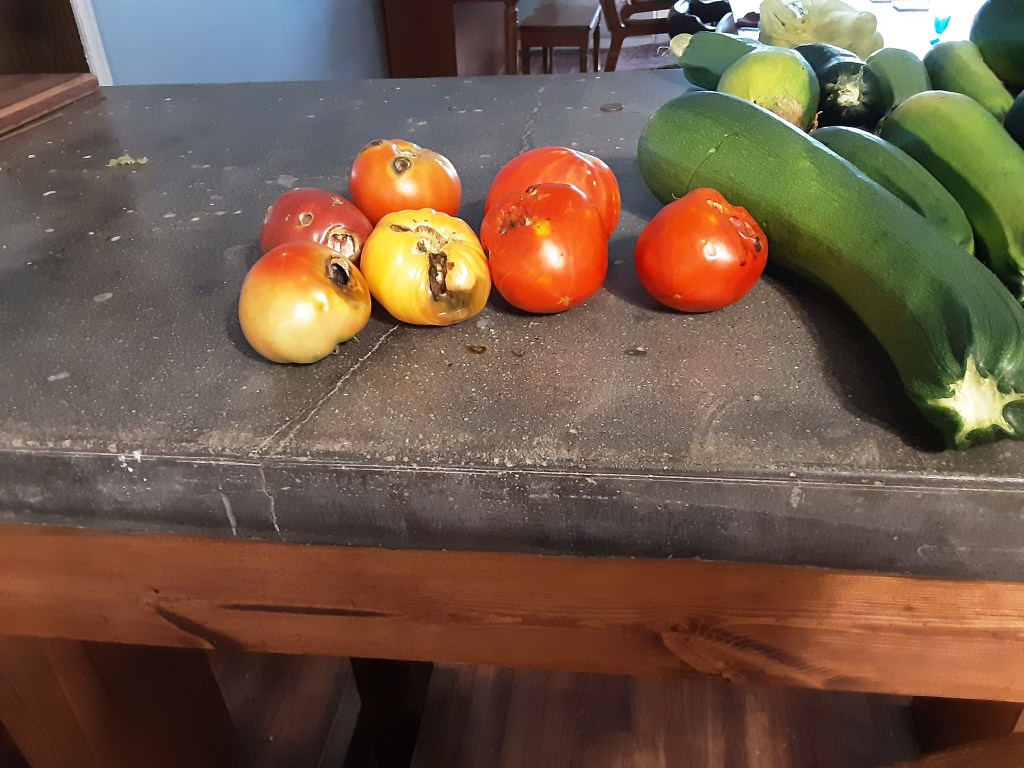
First you need to see the kind of tomatoes I am using. I am not using a “sauce” variety of tomato. I am using what I harvested from my garden and from the community garden. I have several varieties, but I don’t remember all of them right now. Off the top of my head, I know I have Ponderosa Pink, Cherokee Purple, Super Fantastic, Early Girl, Mr. Stripey, Arkansas Traveler, and maybe a Brandywine. This year I ended up growing more pink and purple tomatoes. Even though these are not the typical “sauce” varieties, you can make sauce from any kind of tomato. Don’t get caught up in having the perfect variety to make your sauce.
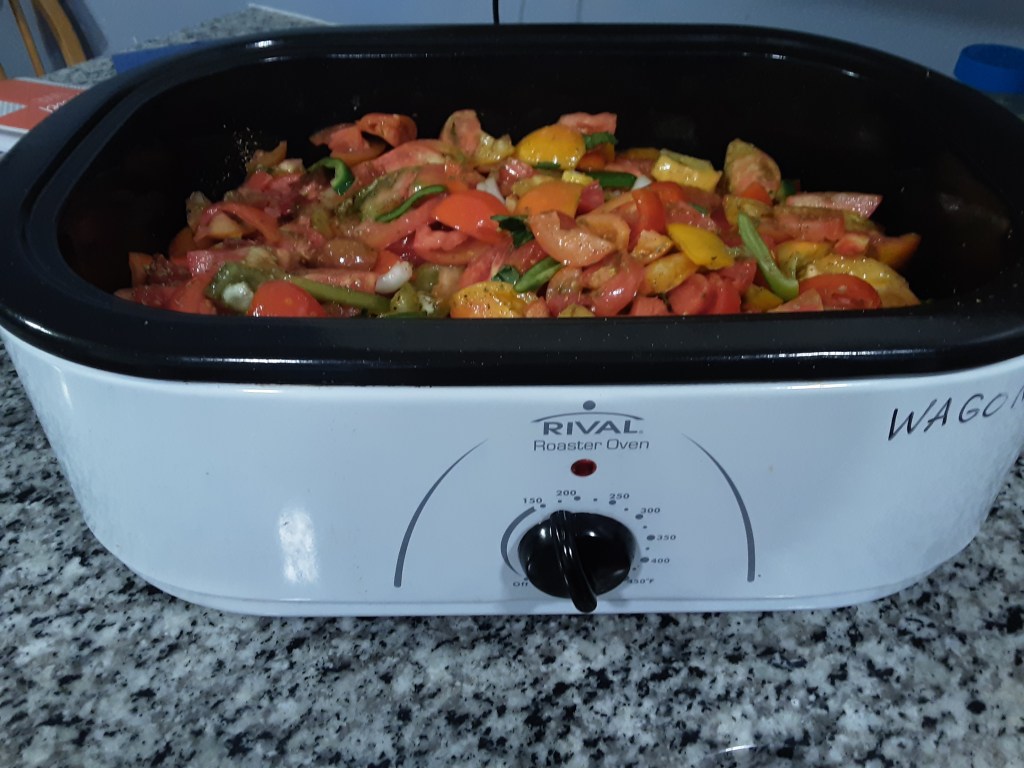
Now let’s look at some of the equipment I am going to be using. I know I am making a batch significantly larger than most people will at home. My first item I am using is my large roaster. You will need to set the temperature just under 200 degrees F. If you are making a smaller batch, use your slow cooker and put it on the LOW setting. You will need to use cooking spray on the inside of your slow cooker if you don’t want to have trouble washing it later.

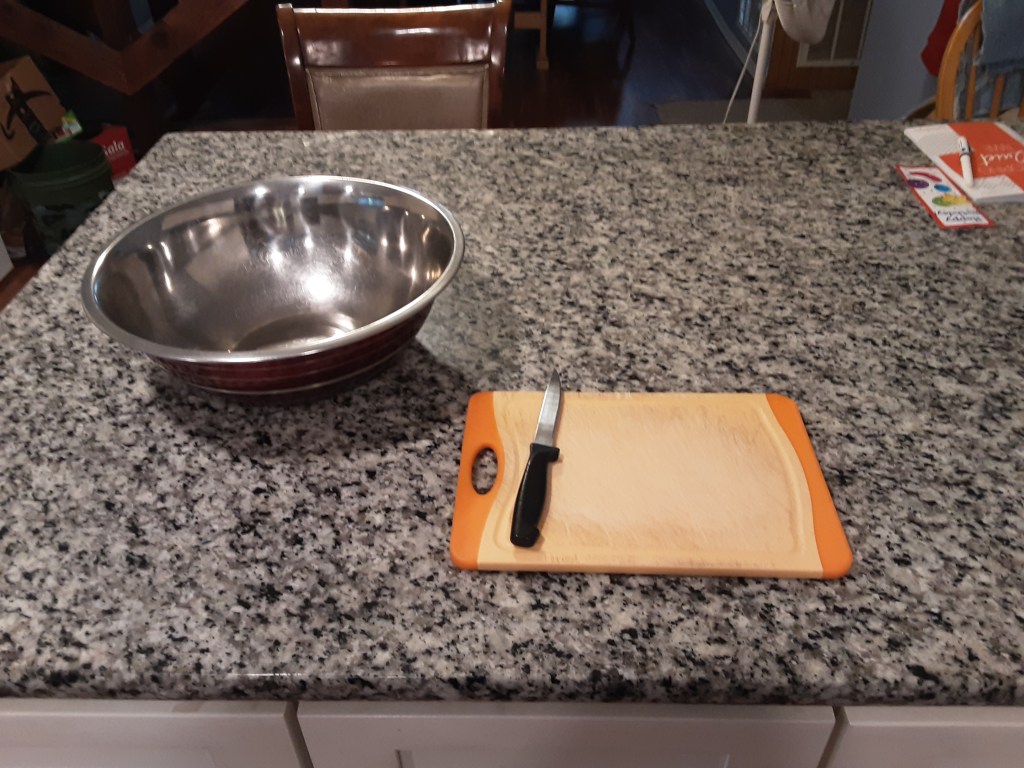
The next equipment I use are my largest metal bowl, my cutting board, and my serrated knife. I use a steak knife for cutting tomatoes because it cuts through the skin easier and quicker.
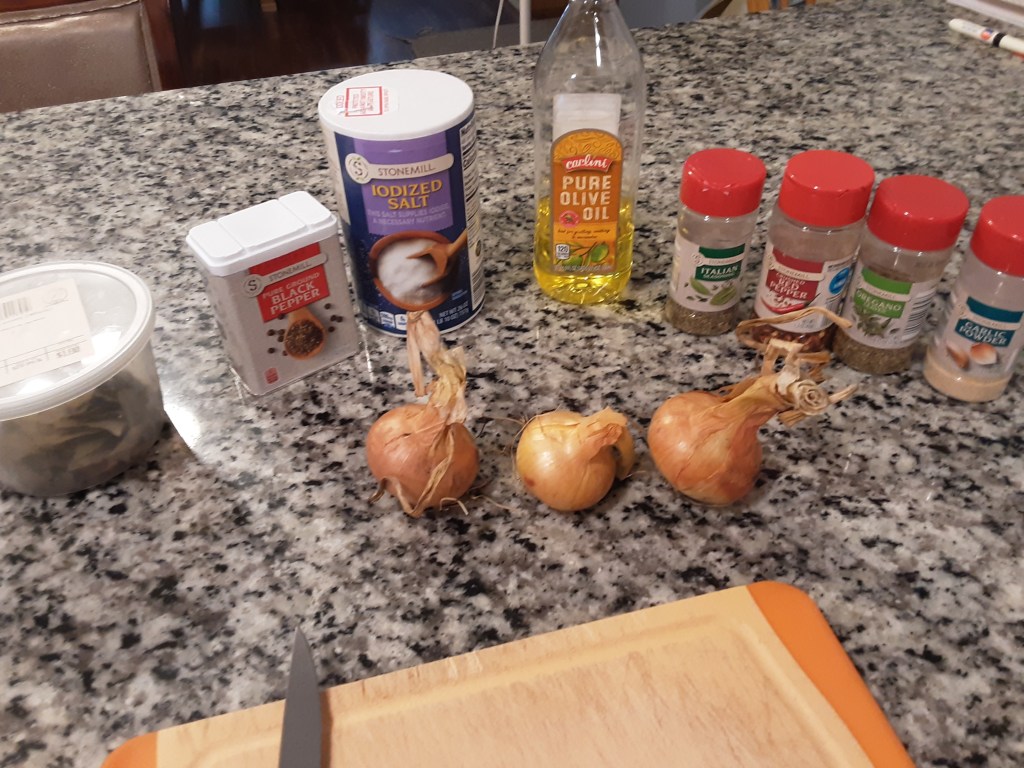
At some point during this process of prepping, I get out my seasonings and onions. You will need: Olive oil, Bay leaves, Salt, Pepper, Red Pepper flakes, Italian Seasoning, Garlic Powder, Oregano, and fresh Basil leaves.
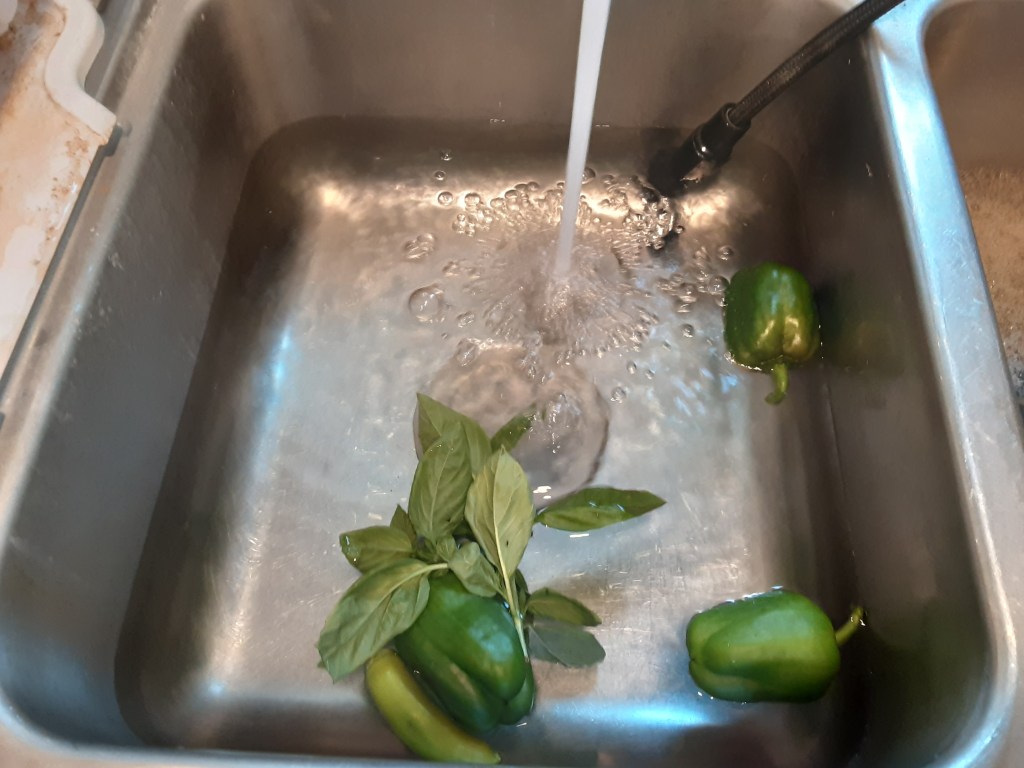
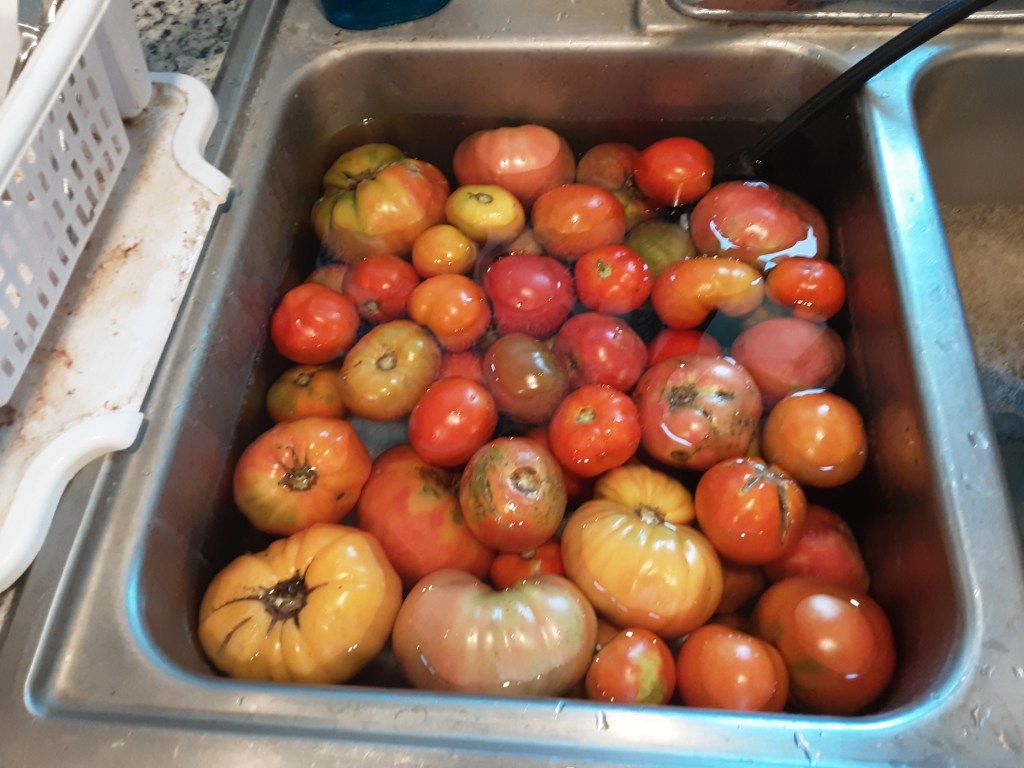
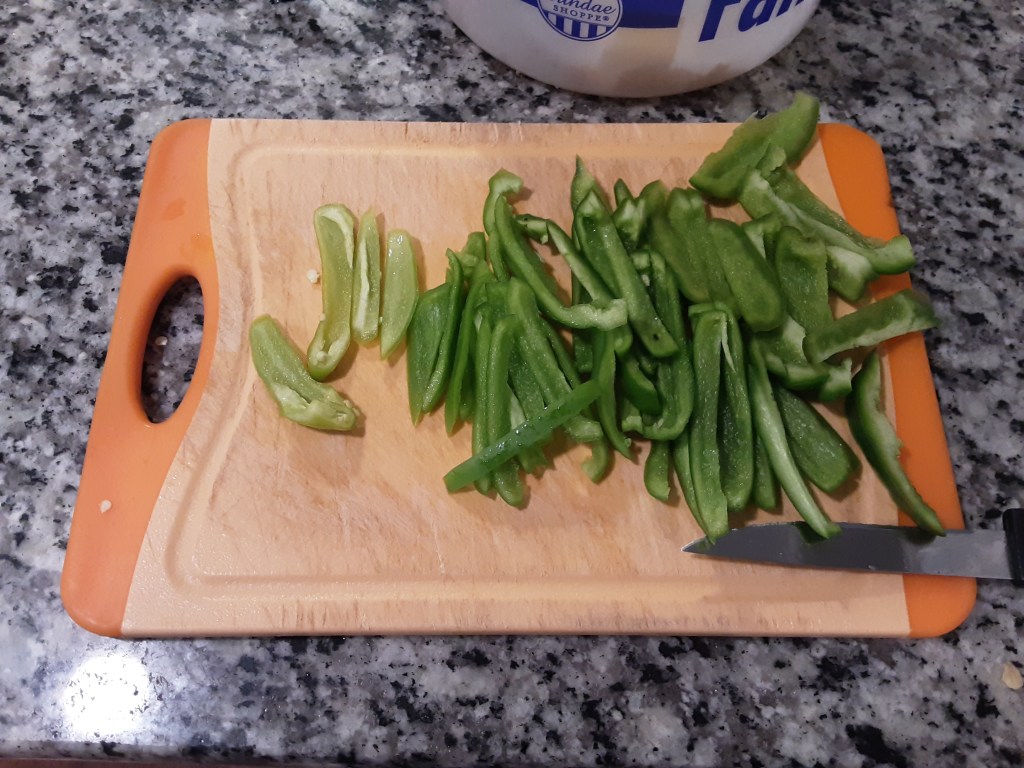
After I have these items out and ready to go, I start filling one side of my sink with cold water. The first thing I wash are my green peppers, Hungarian wax pepper, and my basil. These peppers don’t look quite like what you get from the store (as far as size), because I just picked them out of the garden.
Once the peppers and basil have been washed, I move them to the counter and start putting my tomatoes into the sink to be washed. I had two bowls full of tomatoes (close to 17lbs). Once the tomatoes are rinsing, I put in a Tablespoon or so of olive oil and the bay leaves (one large or two small) into the pre-heating roaster. Then I proceed to cut up my onion into one-inch pieces. Again, my onions are small, because that is what I ended up growing this year.
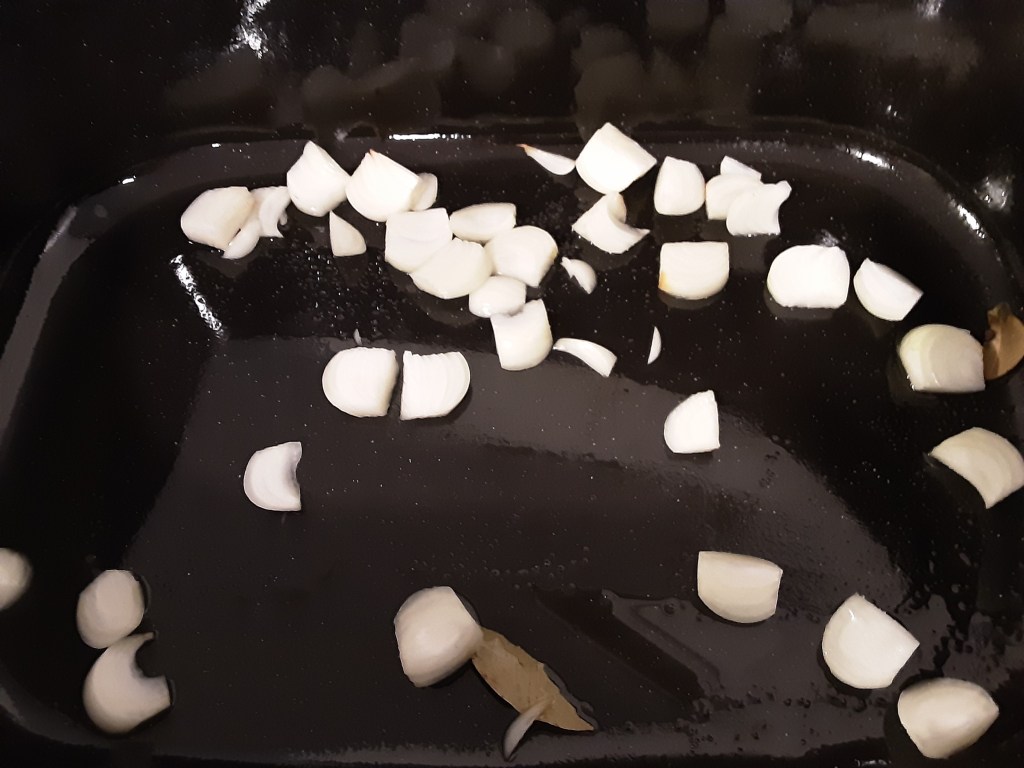
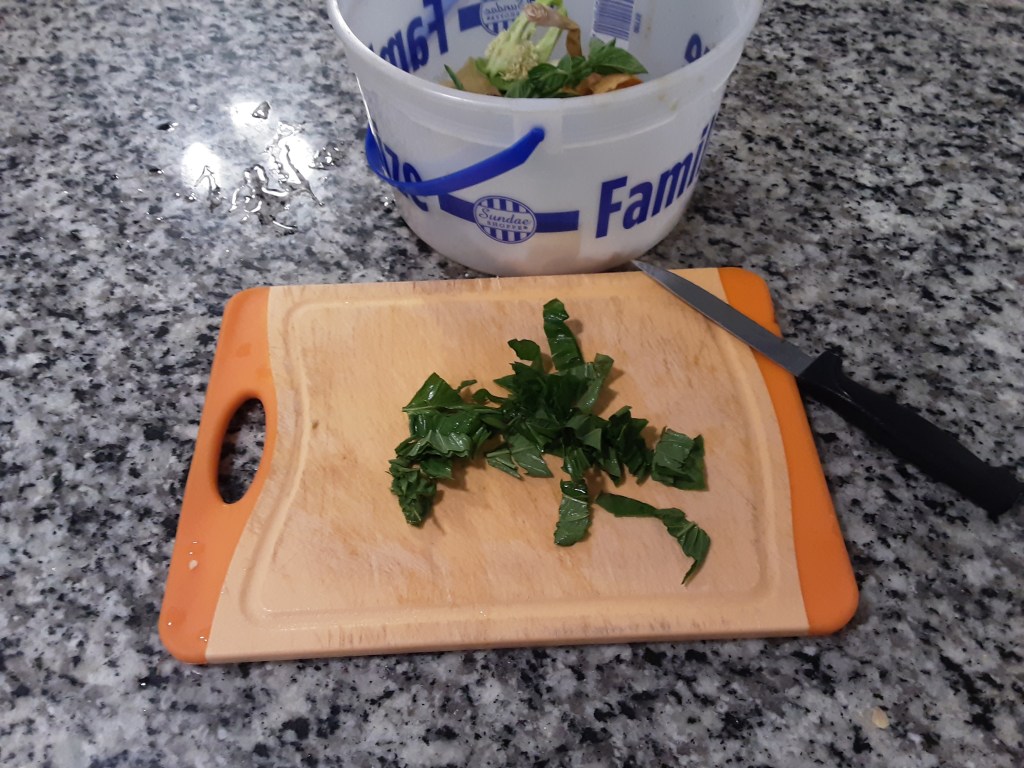
Right after I cut up the onions, I cut up my peppers (discarding seeds and ribs) and put them into the roaster to start getting warm. I usually sprinkle salt over the onions and peppers to start drawing out some of their moisture at the start. Following that I slice up the basil and add it to the roaster.
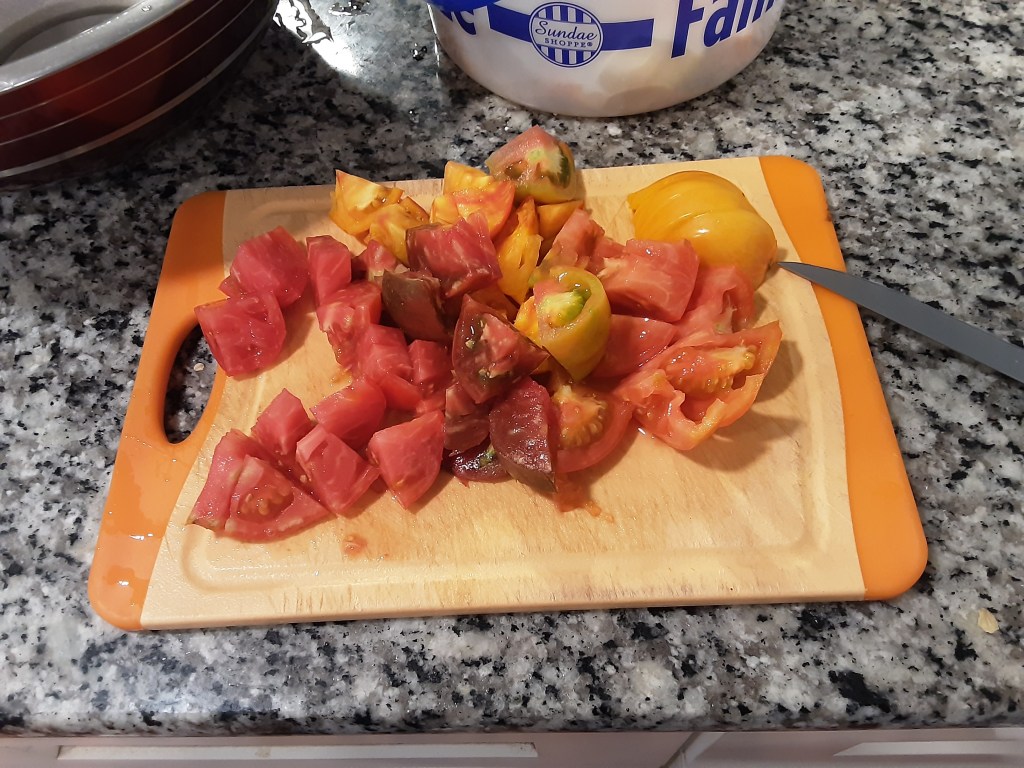
Now let’s have a look at these tomatoes. You might be tempted to throw away any tomato that looks like these. Yes, they have had some issues with bugs attacking them and the tomatoes are starting to look gross. However, these can still be saved and used for canning. Just cut away and discard the bad parts. You may cut away half of the tomato, but you still have half a tomato to use (the picture of the cut tomatoes is the good tomato I got out of the gross ones).
Now you get to the most labor-intensive part of day one sauce making. Remove the tomatoes from the water and place in your big bowl. Then one at a time, cut out the core of the tomato and then slice the tomatoes into chucks about the size you see in the picture. These tomatoes are going to be slow cooking for about 24 hours, so the pieces can be bigger than you might think. If you are using a regular store-bought tomato, think about cutting the tomato into quarters. My tomatoes have been much larger than store bought, so they need to be cut more than just in quarters.
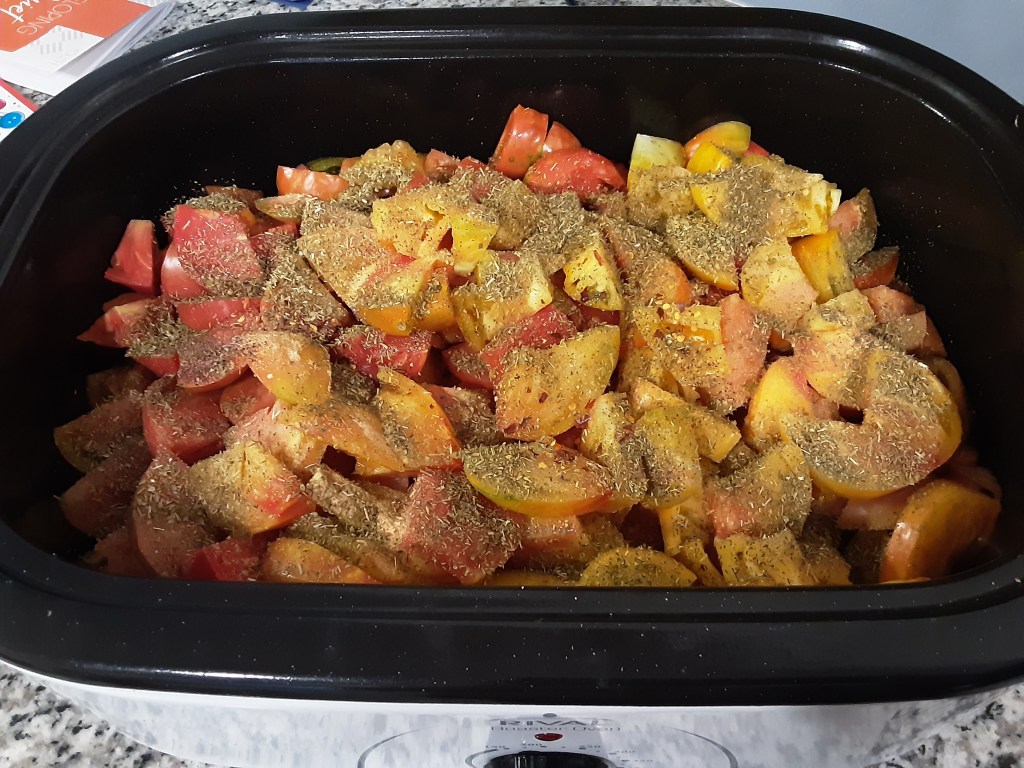
Once you have all of your cut up tomatoes into your roaster, add all of your seasonings (I will give a recipe below). Then stir everything in your roaster with a big wooden spoon so that spices and seasonings are evenly distributed. Put your lid on the roaster and let it do its thing for 24 hours. You can stir it every few hours if you wish, but you don’t have to do that if you are just too busy.
DAY 2
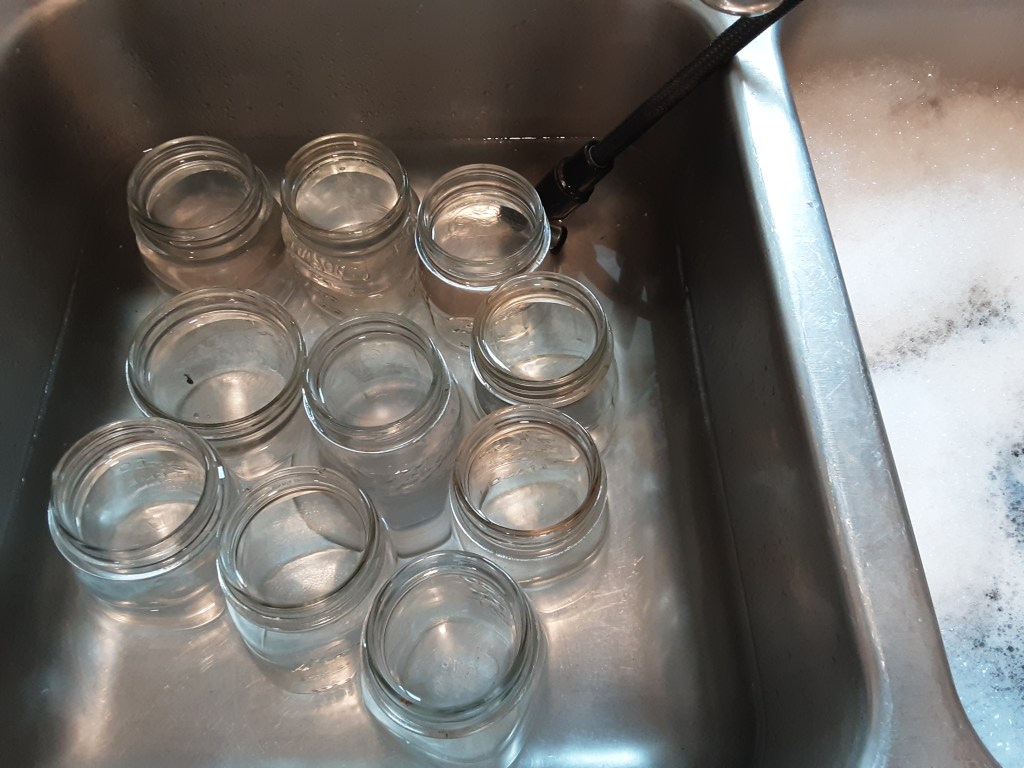
If you are like anyone else trying to can things right now, you know that canning jars are just about impossible to find. I was really in a bind, when my mom told me I could have her old jars she wasn’t using anymore. They had been stored outside in a tote under the porch. I know that these look a little dirty, but you need to know that I came home with 4 dozen jars: dirty gold.
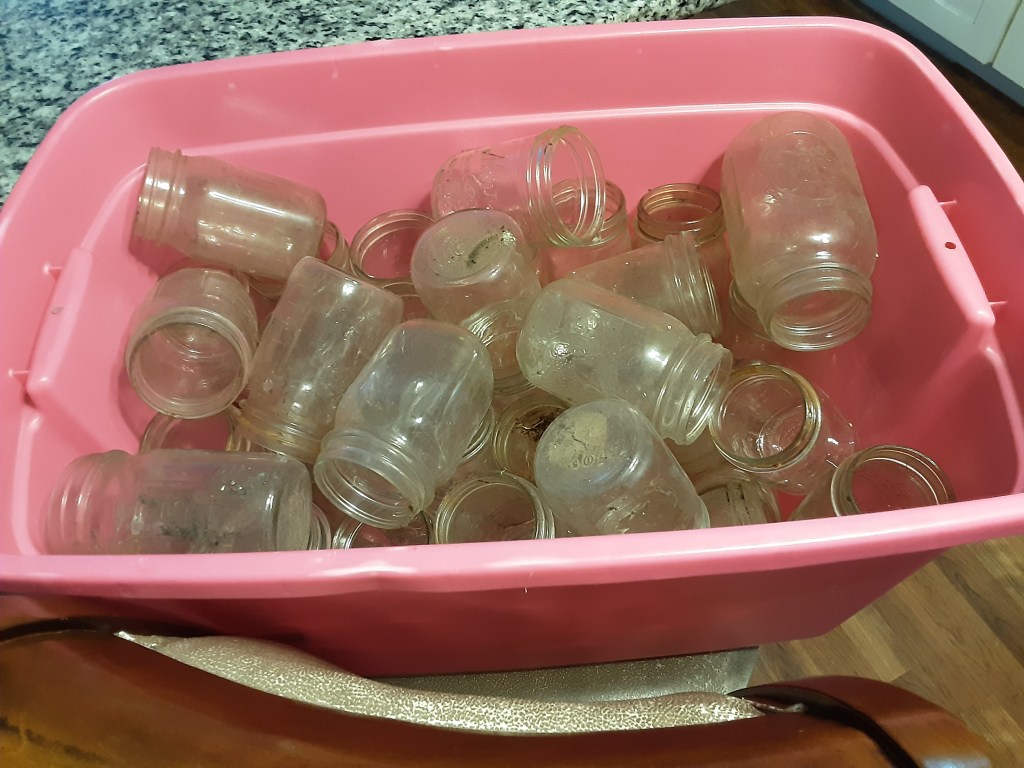
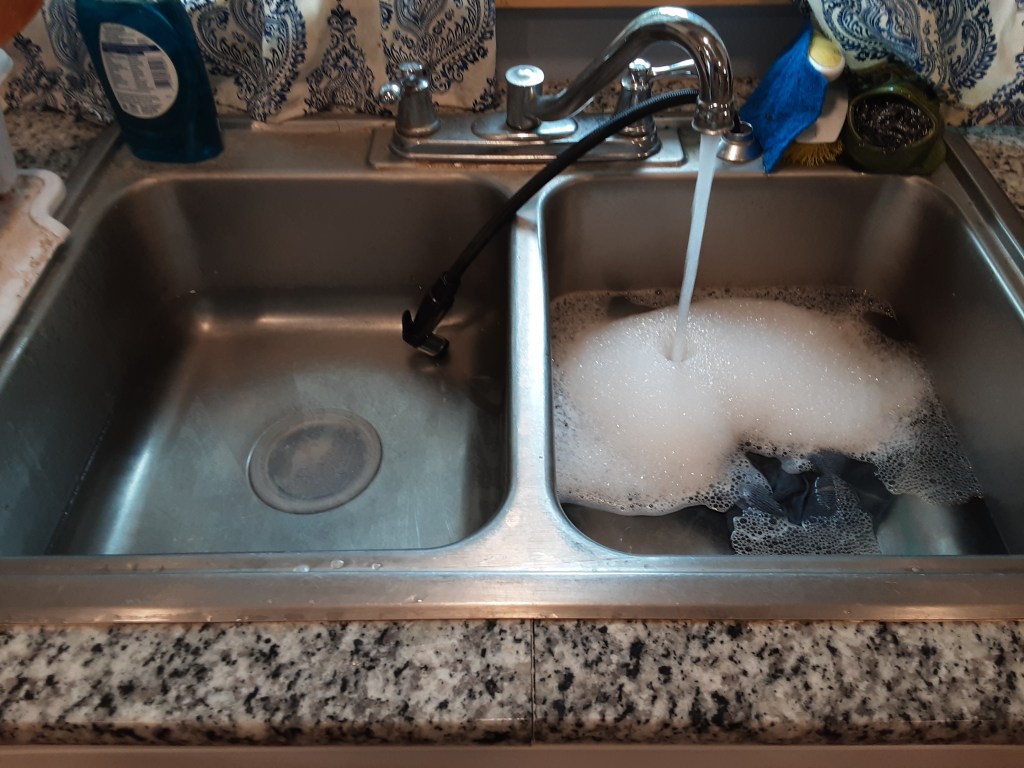
Regardless of whether you pulled your jars from under the porch or bought them new from the store, you need to wash the jars. Hot soapy water is needed to get them clean. Once they are clean, put them on a rack and then start fresh dish water and fill the rinse side of your sink half way with your hottest tap water.
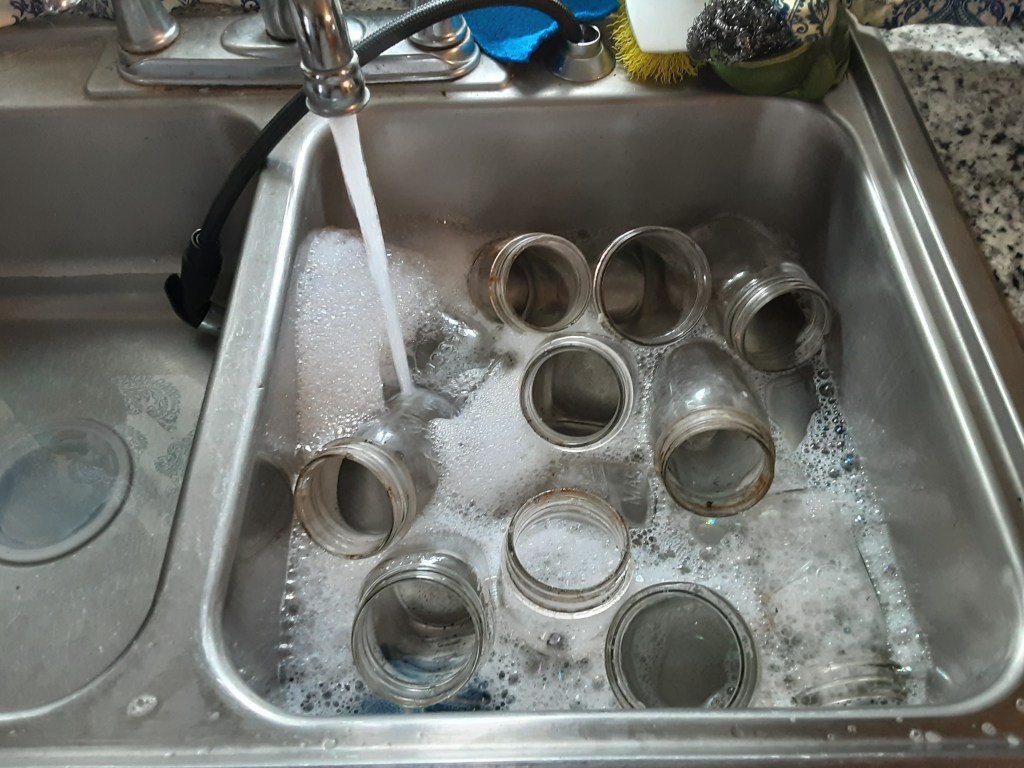
You will need soapy water, because you will be making messes. It is easier to have the water there and to wash as you go than to try to wait to the end to do all of your cleaning.
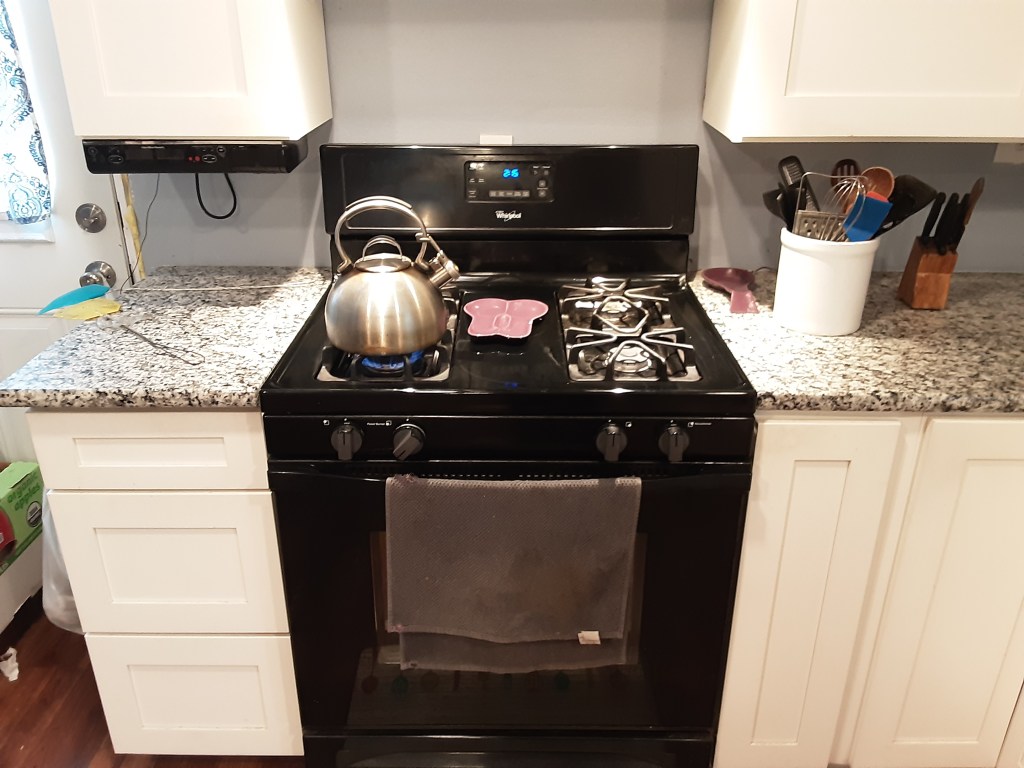
In the rinse side, place back in the water your now clean jars. I have my tea kettle on the stove boiling water. Once your jars are in the water, fill partially with the hot tap water and fill the rest of the way with boiling water. This will sterilize your jars. The jars will be hot and will need to stay hot until you need to use them.
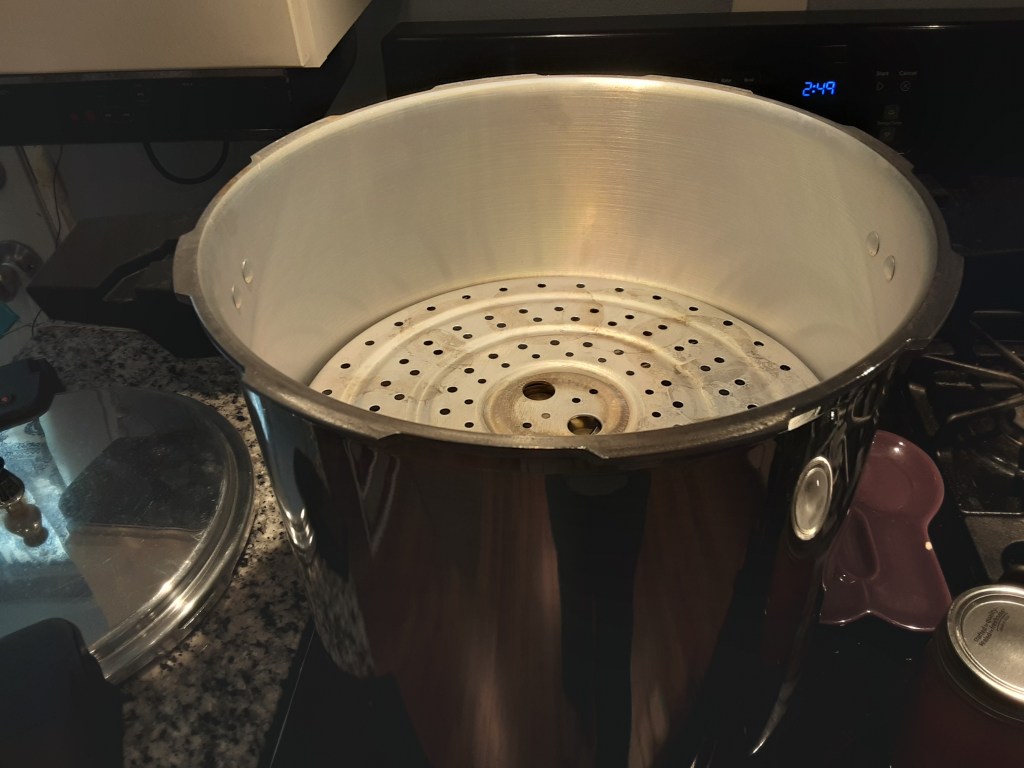
The next piece of equipment I have is my large pressure canner. This particular one can hold 7 quarts or 16 pints. Please be sure to read ALL of the directions that come with your canner, because they can be dangerous. I had one smaller canner have its safety valve explode on me this year. If I had been closer to it when the explosion happened, I could have been burned pretty severely. According to the directions for my area, I have the weight on the canner that sets the pressure at 10psi.
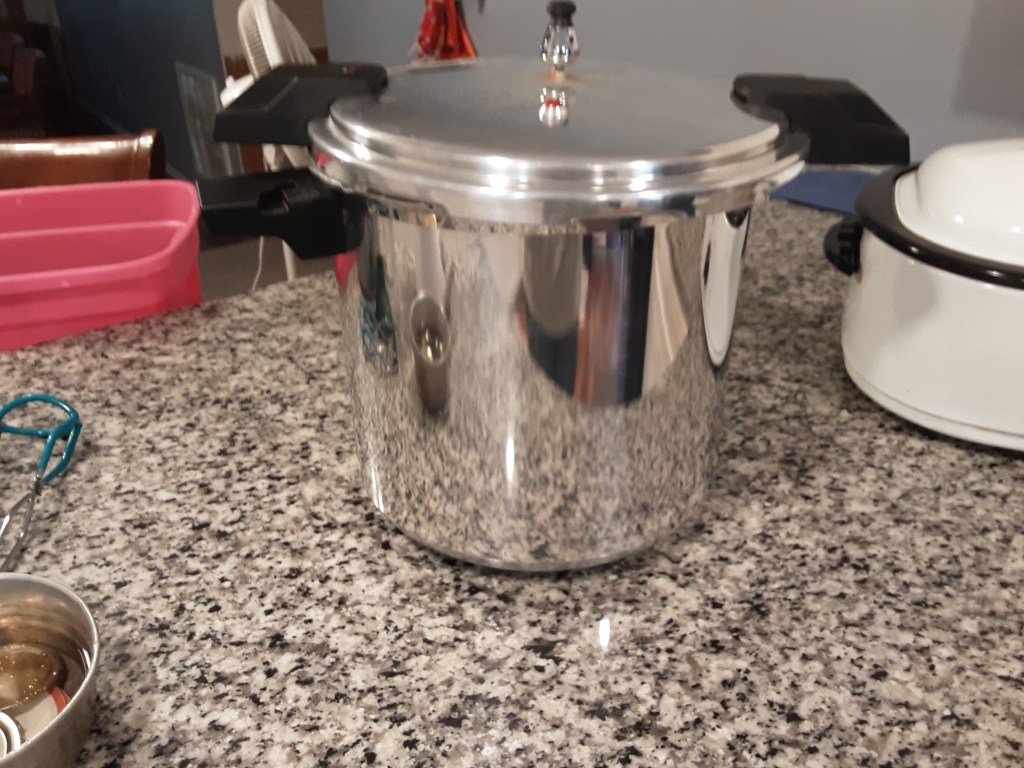
[If you don’t’ have a pressure canner, you can still make the sauce. You will need to use the hot water bath method (put your filled jars in a large pot and cover the jars completely with boiling water and boil for 20 minutes) ]
The next thing you need to do is get a small pan and put in your jar lids and cover with water. You will need to put these on the stove and bring to a simmer. This will sterilize the lids and activate the seal on them.

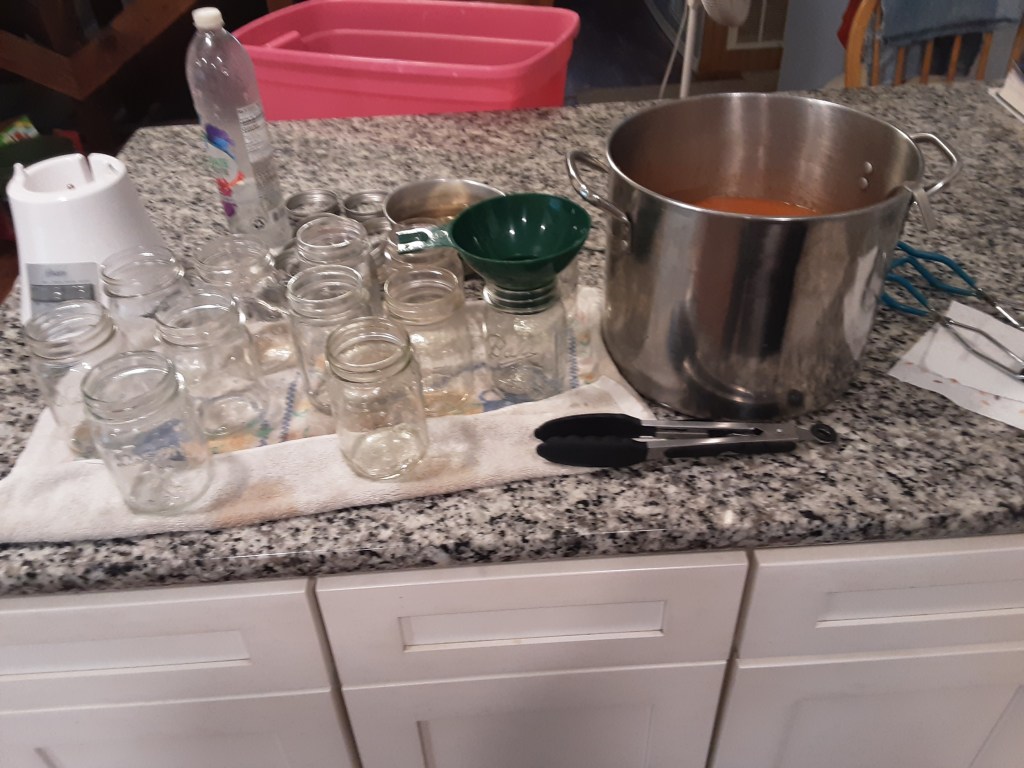
My blender is a key part to my particular sauce. If you notice I have the vent removed out of the lid. I will explain that later. Just know that if your blender has a vent in the lid, the vent will need to be opened or removed. You can also use a food processor if you don’t have a blender. This was a cheap $10 blender I bought in college. It is still holding out strong for me nearly 20 years down the road, so why go with anything else? Also please notice my bottle of water. You will need it, because canning is a hot, sweaty kind of job.
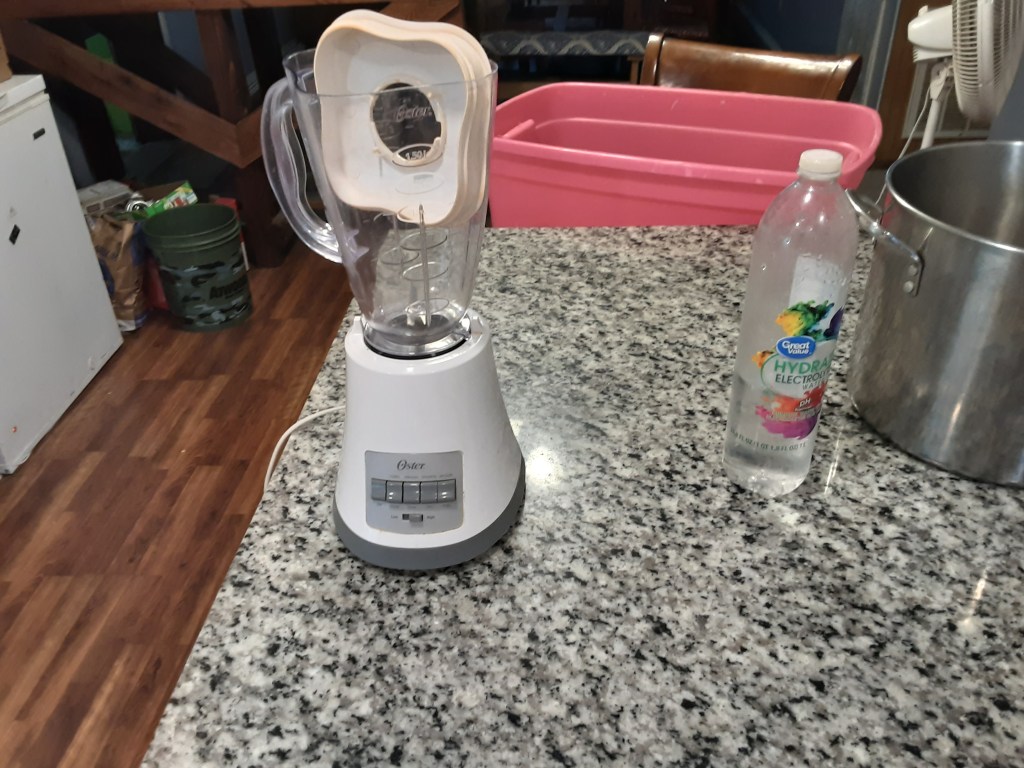
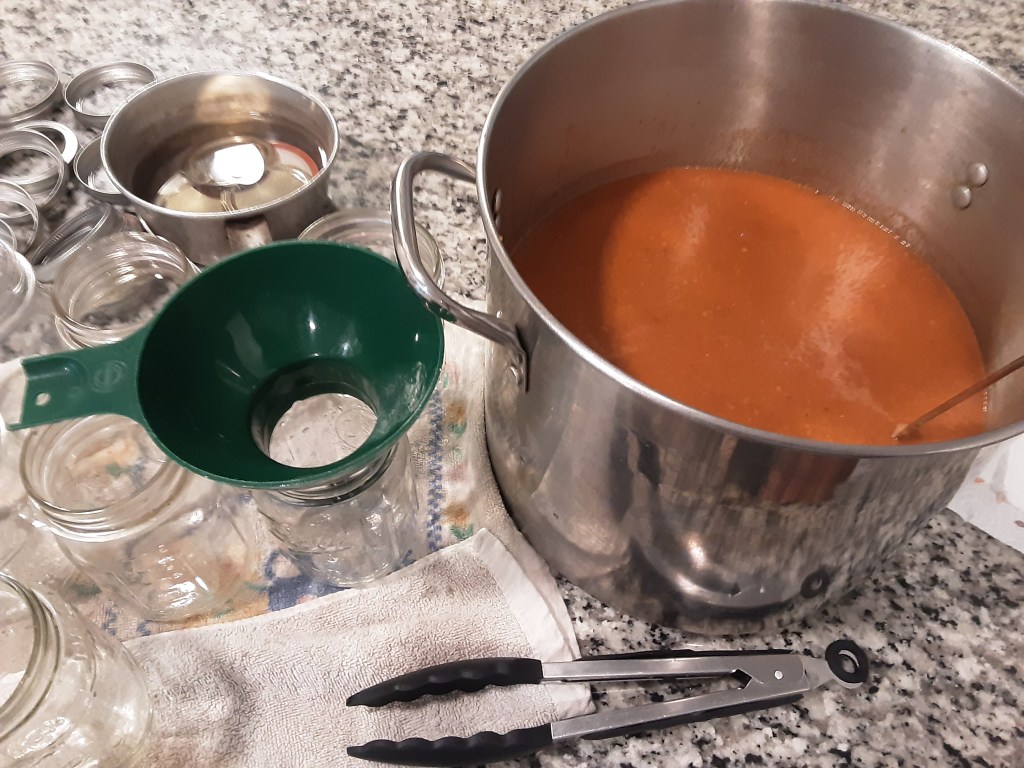
I have my largest stock pot out to hold the blended sauce while keep blending other batches. I know these kinds of pots can be expensive, but look at second hand stores or yard sales for them. I found this one and the one a size smaller at a yard sale for under $10.
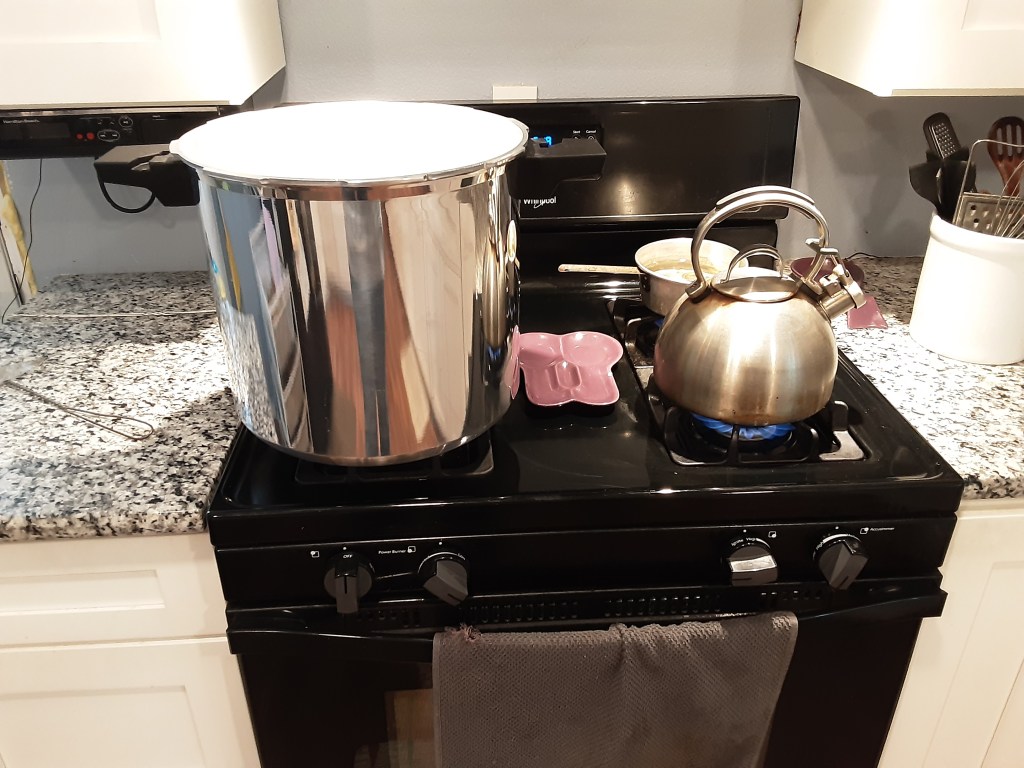
I now have my stove set up with more water boiling, the pressure canner filled with its 2 ½ cups of water (according to manufacturers’ directions) on medium low heat, and the lids simmering on a back burner.
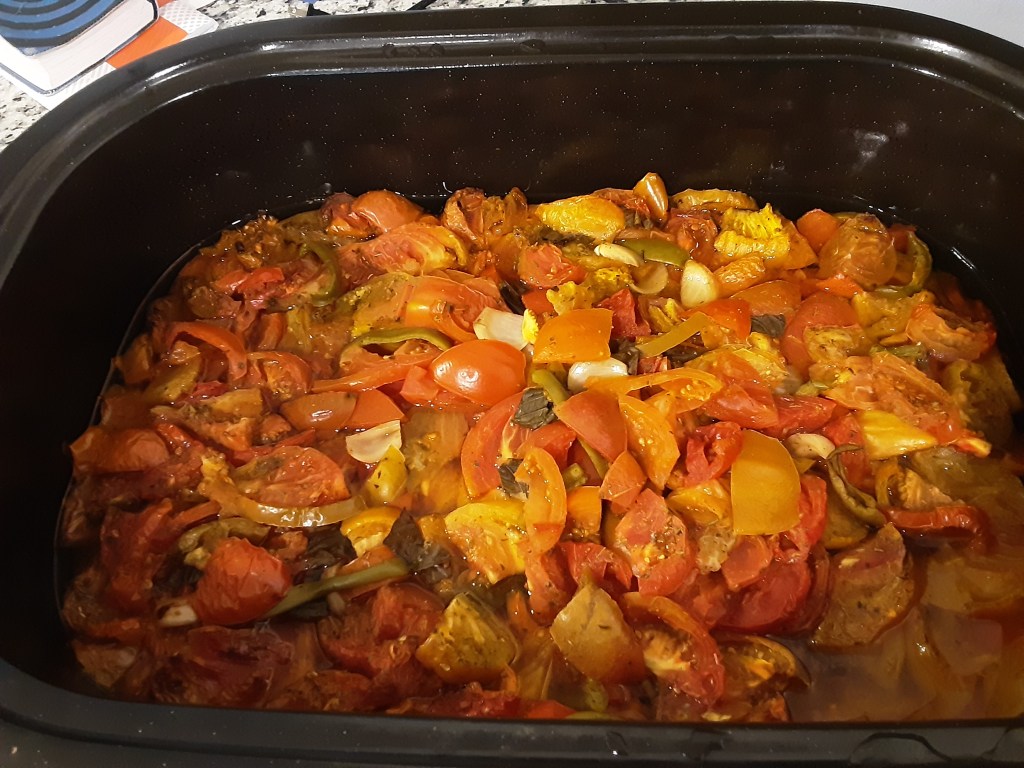
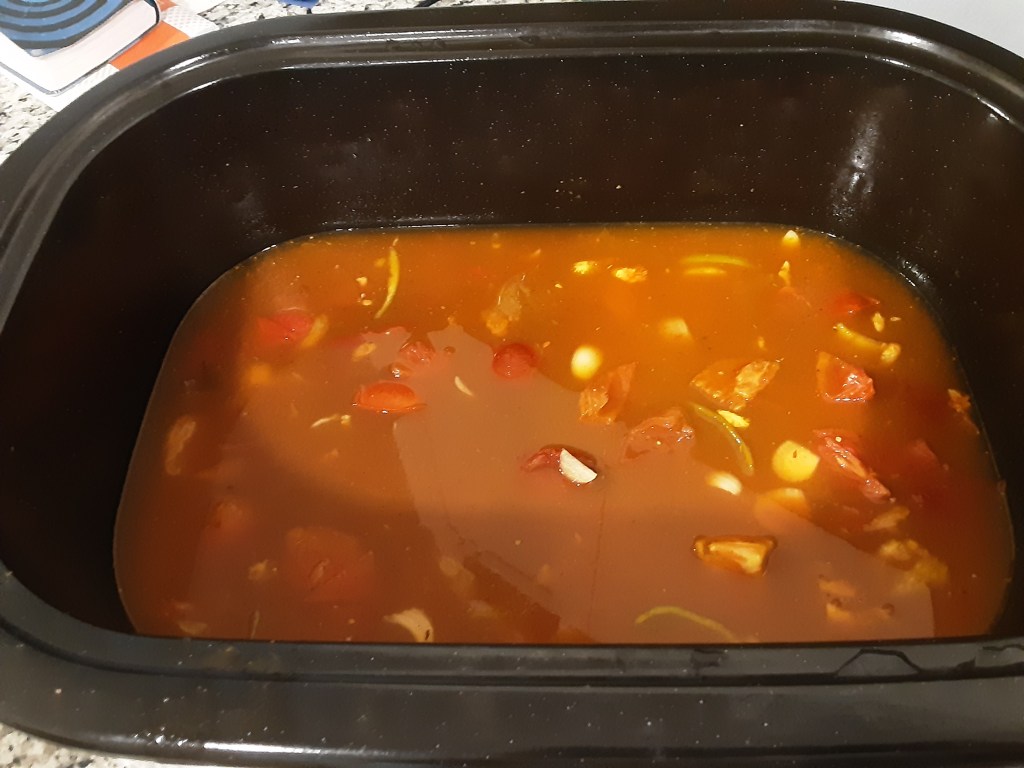
Now take off the lid to your tomatoes and view the change. I know this may not look that good, but I can just about bet that your house has smelled amazing for the past 24 hours as this has cooked for you. I use a handheld strainer to strain out the solids and place them into the blender.

Only fill your blender HALF FULL. Your mixture is very hot and steam will be escaping. Bring in your sacrificial kitchen towel and fold it over a few times to cover the steam vent on your blender. Start off with slow pulses and then blend the vegetables until smooth. The color will change once your blend it. (Your sauce will not be deep red like store bought sauces. It will be more orange and that is good. Some companies add food coloring to get that deep red color.)
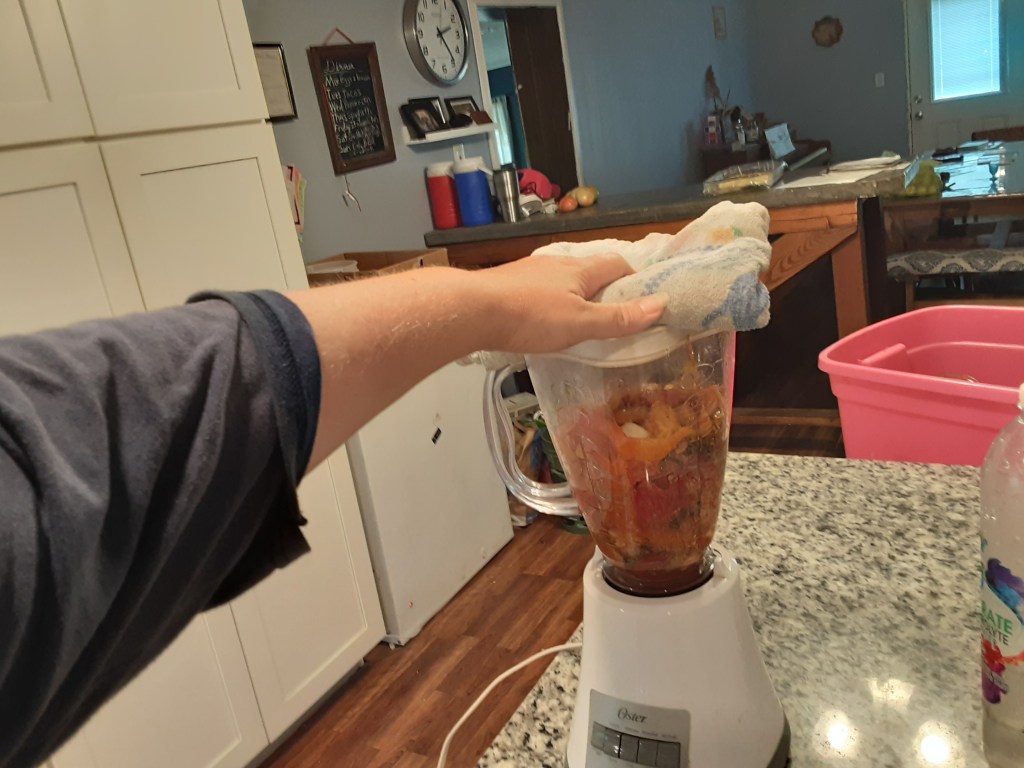
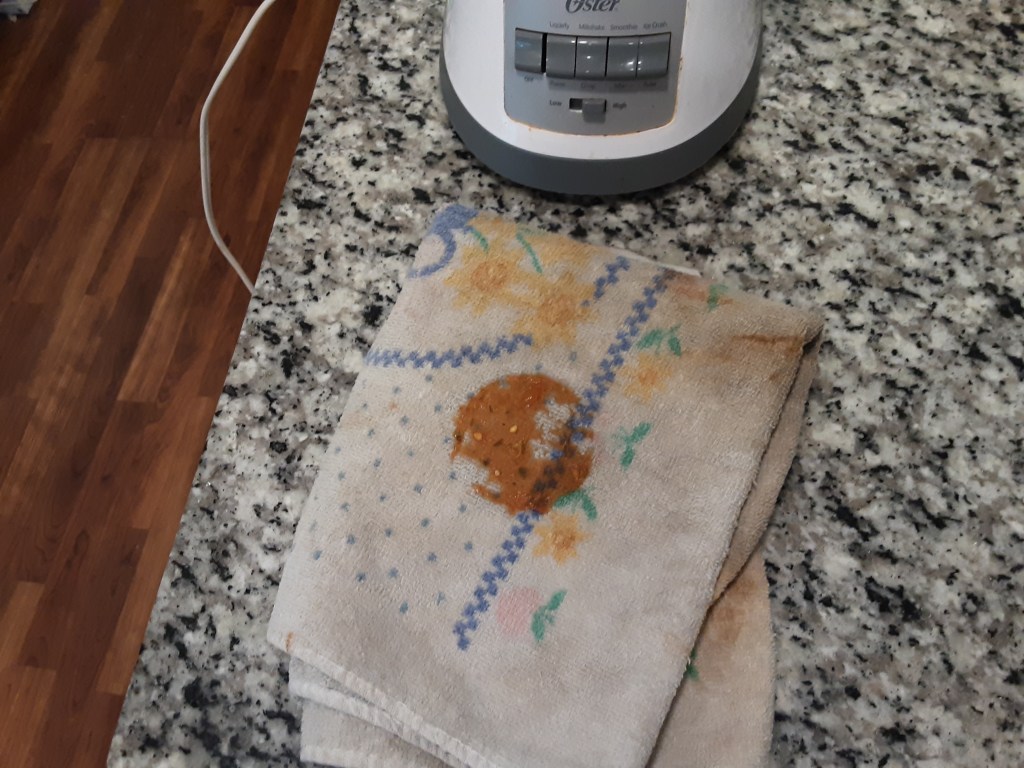
Your kitchen towel will get dirty, but it will save you from sending sauce all over your kitchen. More importantly, it will keep you from burning your hand on the steam coming from the sauce. If you overfill your blender, no amount of kitchen towel will save you from the mess you will make when the lid blows off the blender and you send nearly 200-degree F sauce all over your kitchen.
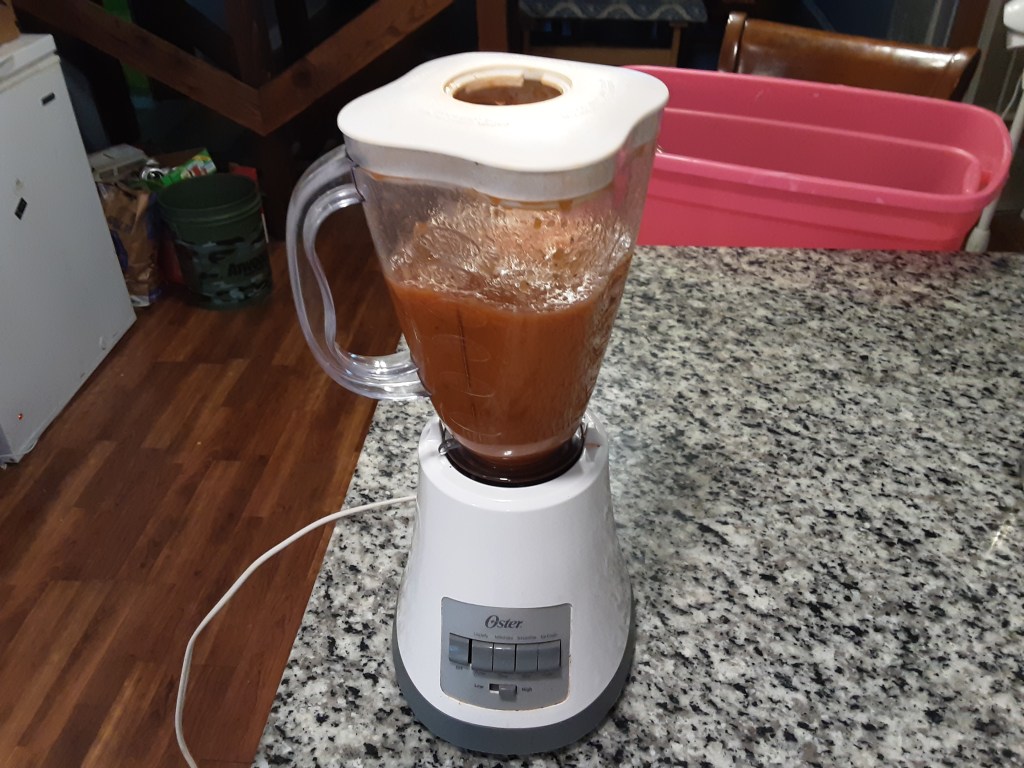
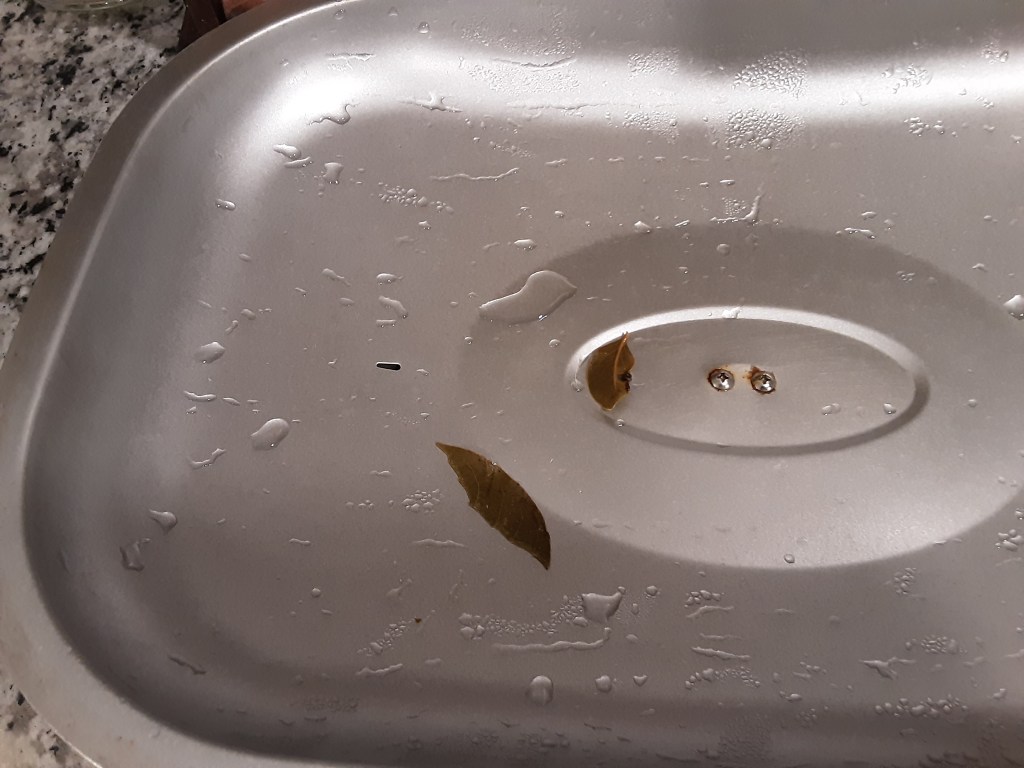
Keep a lookout for your bay leaves. Take them out and do not blend them. They will not break down and will be a choking hazard. Once you are down to just the liquid in the pan, give it a quick blend and add it to the rest of your sauce in your large stock pot.
At this point, things are at a standstill until the next step comes of filling your jars. The jars are still hot, the pressure canner is warming up, the lids are simmering, and the sauce is still hot in the pot. Take a few minutes and wash your roaster, lid, and blender. With the dish water you already have ready, this should take five minutes or less, and it will save you lots of time later when you are not motivated to wash dishes.
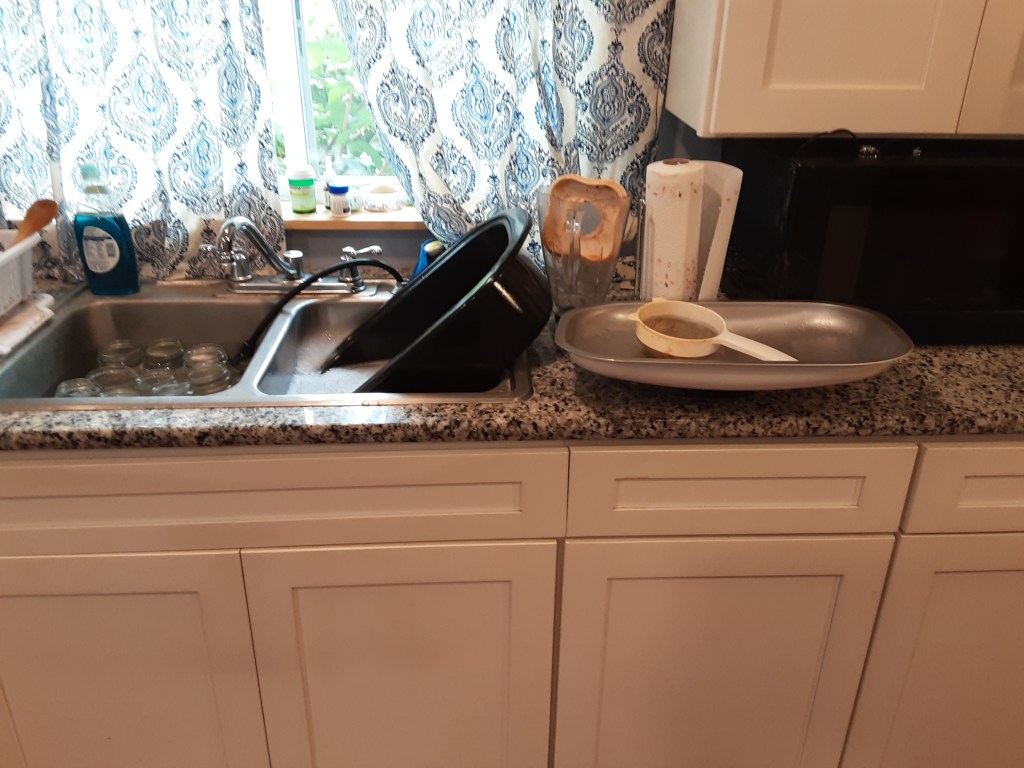
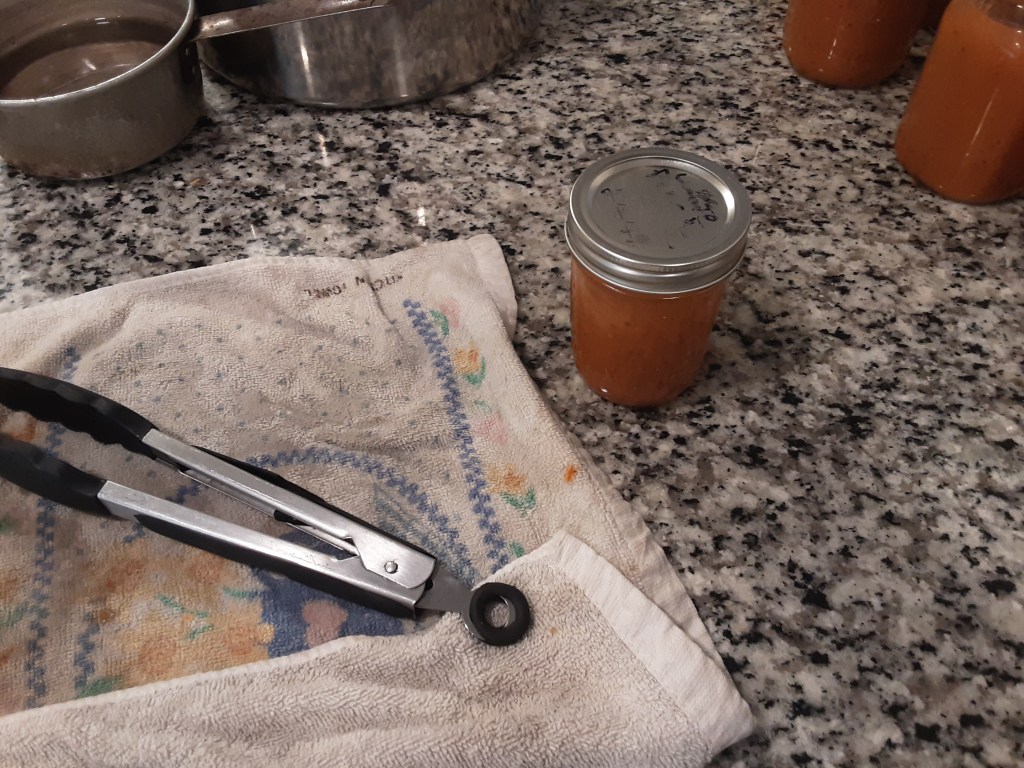
Dishes are done and the counter is clean. You can now unfold your dirty kitchen towel and begin bringing over your hot canning jars from the sink. The water is hot, so use a pair of tongs to remove the jars and pour out the water. Place the hot jars on the clean parts of your kitchen towel. Also bring over your lids from the stove and remove the hot lids with the tongs as well and place them on the towel.
Grab a paper towel, your jar rings, a canning funnel, and a ladle. You don’t have to have a canning funnel. You can use a funnel you can buy at the dollar store or make a funnel out of a paper plate. If you have a steady hand, you don’t have to have a funnel. I need a funnel to fill my jars.
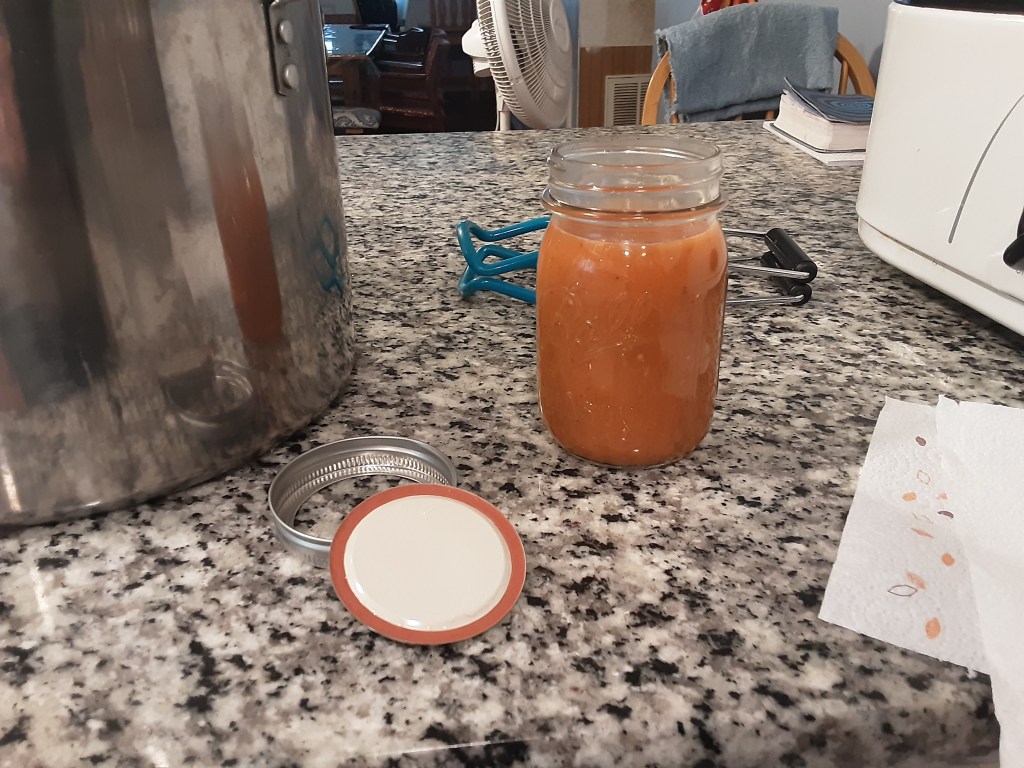
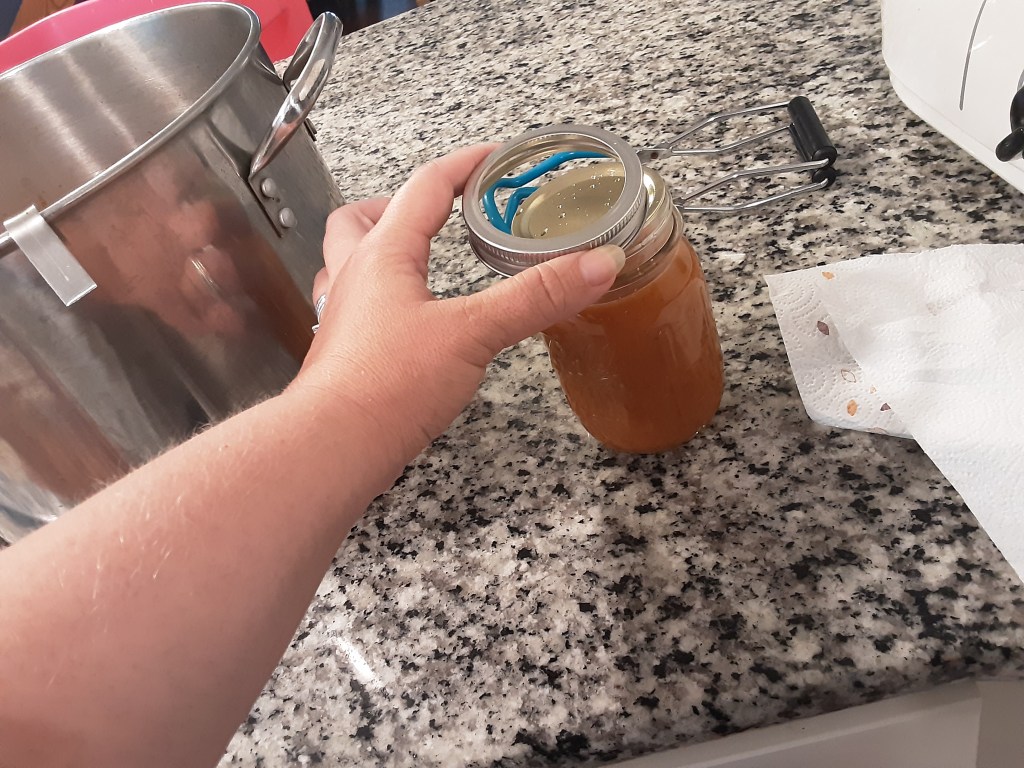
Stir your sauce and then start filling your jars. You will need to fill the jars, but leave an inch at the top (just under the threads of the jar) of what is called head space. Wipe the rim of the jar with the paper to towel to make sure it is clean and dry, place on a lid and screw on your ring. The ring needs to be snug, but not tight. Now move on until you finish your jars, following the same steps.
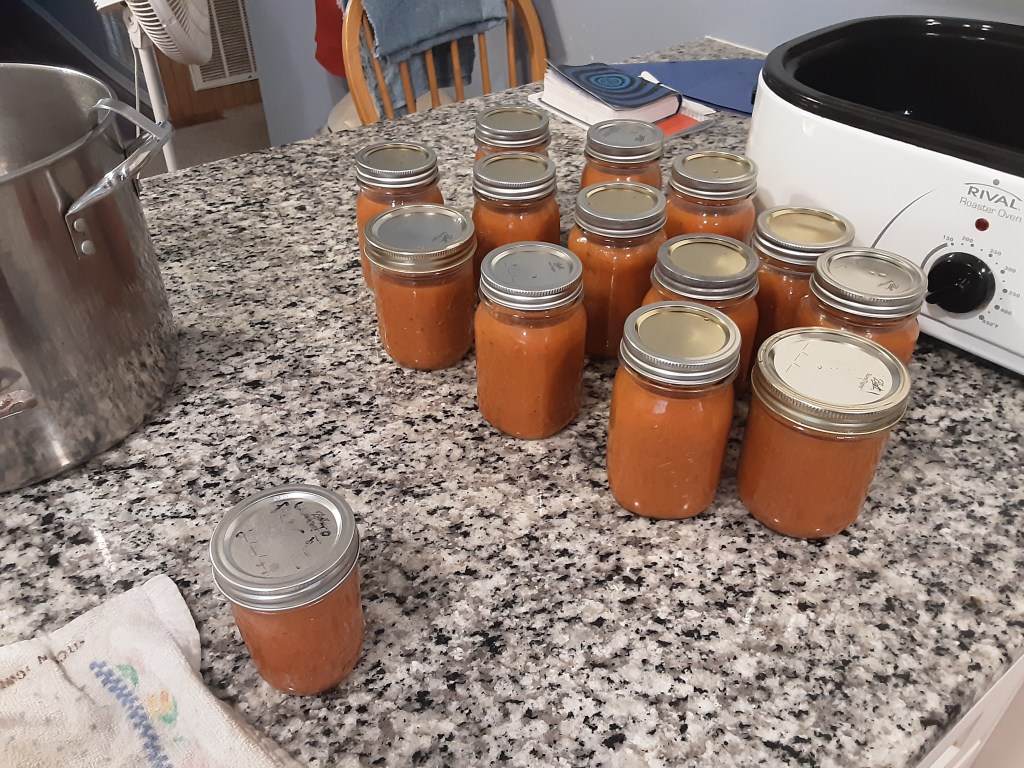
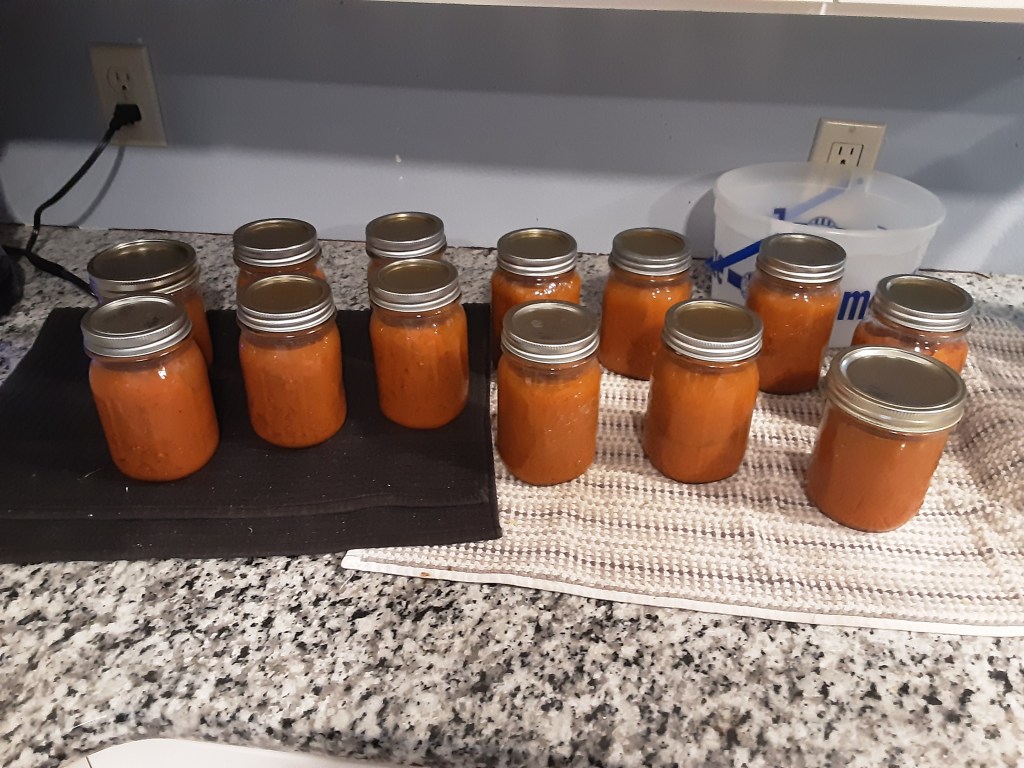
This batch made thirteen pints and one, half pint. The half pint was super full, so I put it in the fridge to use over the next month when I need a little sauce for something (just the right amount for a stuffed green pepper casserole).
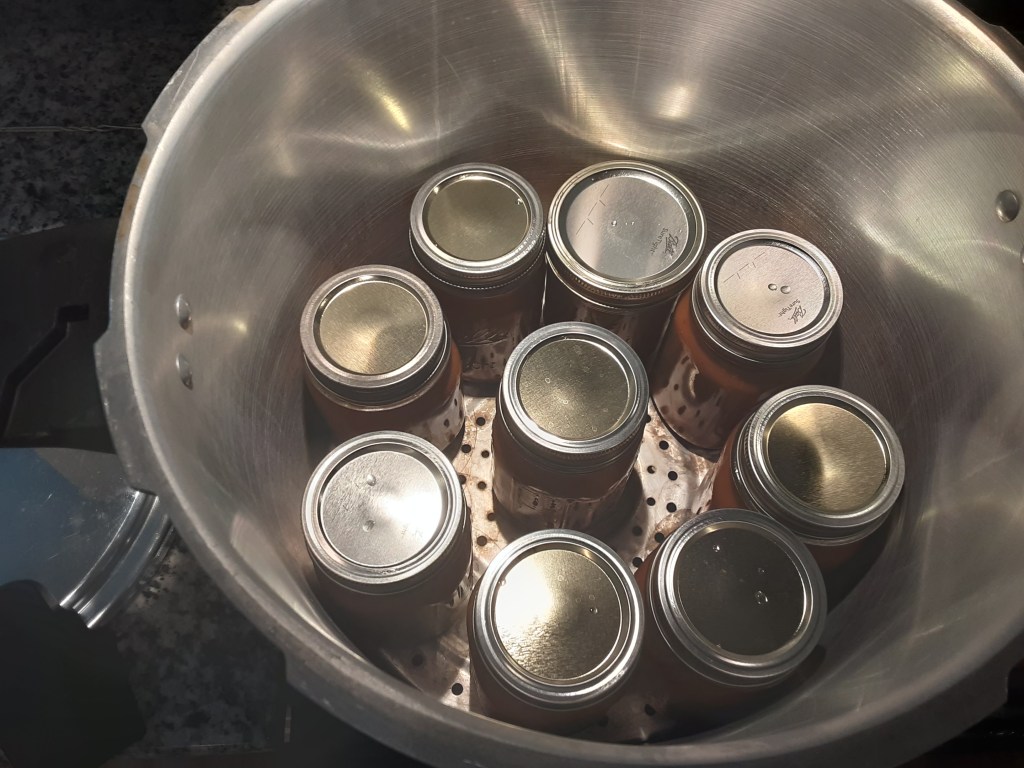
Place your jars into your pressure canner. Mine is big enough to put in a second divider and do all 13 jars at once. Secure the lid on the pressure canner and turn the heat up to high. Once the canner starts making noises (really loud and annoying), start a timer for 15 minutes. If you are doing a hot water bath, put jars into a pot and cover with water. Let it come to a boil and then set a timer for 20 minutes.
After your timer has gone off, turn off the heat to your hot water bath or to your pressure canner. You will need to let both of sit for an hour to cool down before you remove the jars. Removing the jars too early could damage your pressure cooker, make the jars explode, or keep the jars from sealing correctly.

Use your jar lifters to remove the jars from either the canner or the hot water bath. Put the jars on a dry towel on your counter. They will need to cool overnight. You will hear jars make a popping sound. That means the lids are sealing and it is a good thing.
The next day make sure all of the lids are sealed well. Just press the tops and if they don’t pop back on you, they are sealed. If you have a jar or two that didn’t seal, you can try to re-process the jar or just put it in the fridge and use it within a month. There are just times when things don’t seal regardless of if you do everything right.
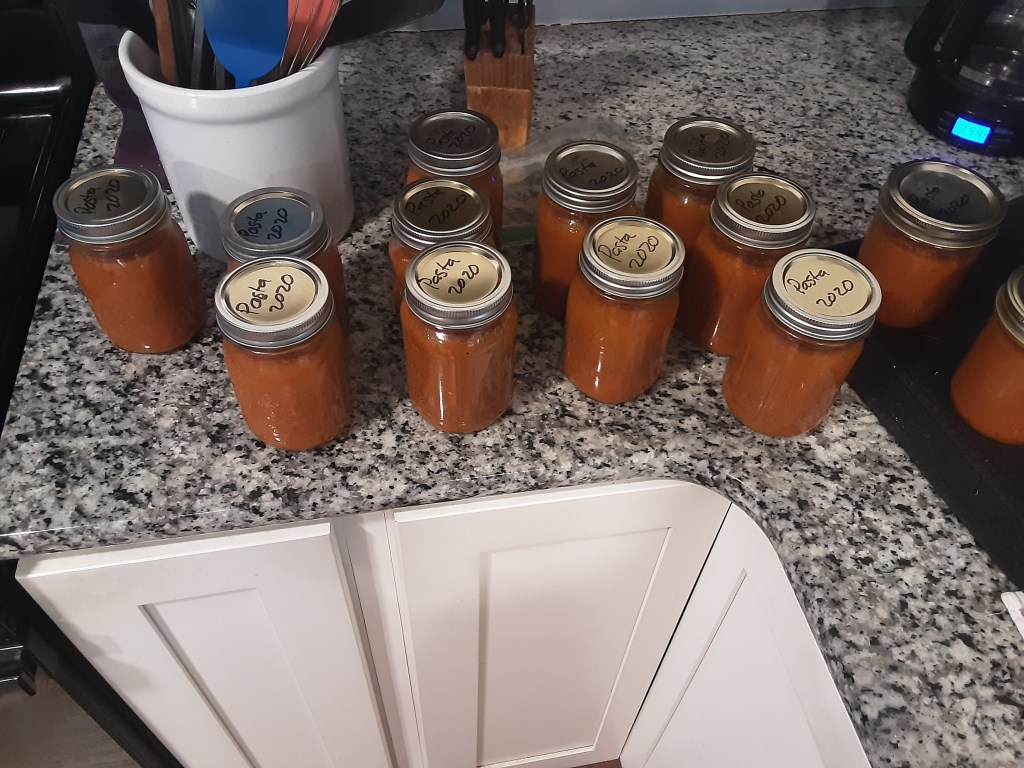
Finally use a sharpie to write what it is that you made and the year. Jars will start to all look a like after a while on your shelf and it will be good to know if that is a pasta sauce, pizza sauce, or chili base.
Use your sauce within the year and enjoy that hard work.
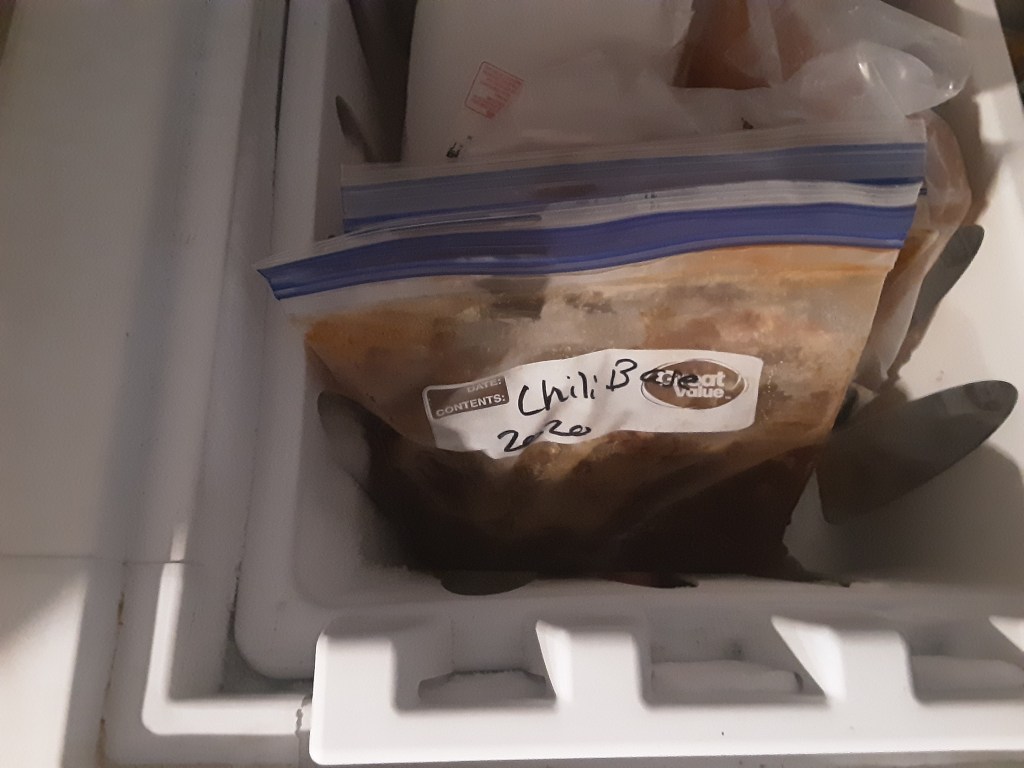
HELP! I CAN’T FIND CANNING JARS!!!
If you can’t find the canning jars, don’t worry. Once the sauce is blended, let it sit in the stock pot until it cools (about 2 hours). Then fill quart freezer bags 2/3 full. Lay them down flat on the counter until the sauce is completely cool and place flat in your freezer. Once the bags are frozen, you can store the flat bags more easily.

Slow Cooker Pasta Sauce Recipe
- 17 lbs tomatoes
- 1 large onion
- 1 large bell pepper
- 1 Hungarian Wax Pepper
- 1 Tablespoon olive oil
- 2 ½ teaspoons of table salt
- ¼ teaspoon of black pepper
- ½ teaspoon of red pepper flakes
- 2 heaping Tablespoons of Italian seasoning
- 1 heaping Tablespoon of Oregano
- 10 fresh basil leaves (or 1 teaspoon of dried basil)
- 2 teaspoons of garlic powder
- 1 large or 2 small bay leaves
Pre-heat your roaster to 180 degrees F and spray with non-stick cooking spray. Wash all of the vegetables in cold water.
Pour in 1 Tablespoon of olive oil into the roaster. Cut up the onion into 1-inch chunks and the peppers into strips with seeds and ribs removed. Core the tomatoes and cut into 1-inch chunks and place into roaster. Cover vegetables with the remaining seasonings and then stir so that everything is coated well. Place on lid and slow-cook for 24 hours.
Blend up sauce and then can or store as you best see fit.
Makes around 14 pints.
