If you are like many people right now, you may be having a hard time finding bread at your local grocery store. I want to show you how to make bread from scratch with just a few simple ingredients. I know that many people don’t have a large stand mixer at home, so this recipe will be for those of you who will have to make it by hand.
Before you start your dough, fill your sink with warm soapy water. You will need to be able to clean your hands during the process. This will save time and you can wash dishes as you go and final cleanup will be easy.


Here are the ingredients that you will need for the dough:
2 cups of warm water
1 Tablespoon of honey (or white sugar)
1 Packet of yeast (or a Tablespoon of yeast)
¼ cup of vegetable oil (an additional 2 Tablespoons to grease the rising bowl)
1 teaspoon of salt
5 cups of flour, plus additional flour to dust the work surface (about 1/3 a cup)
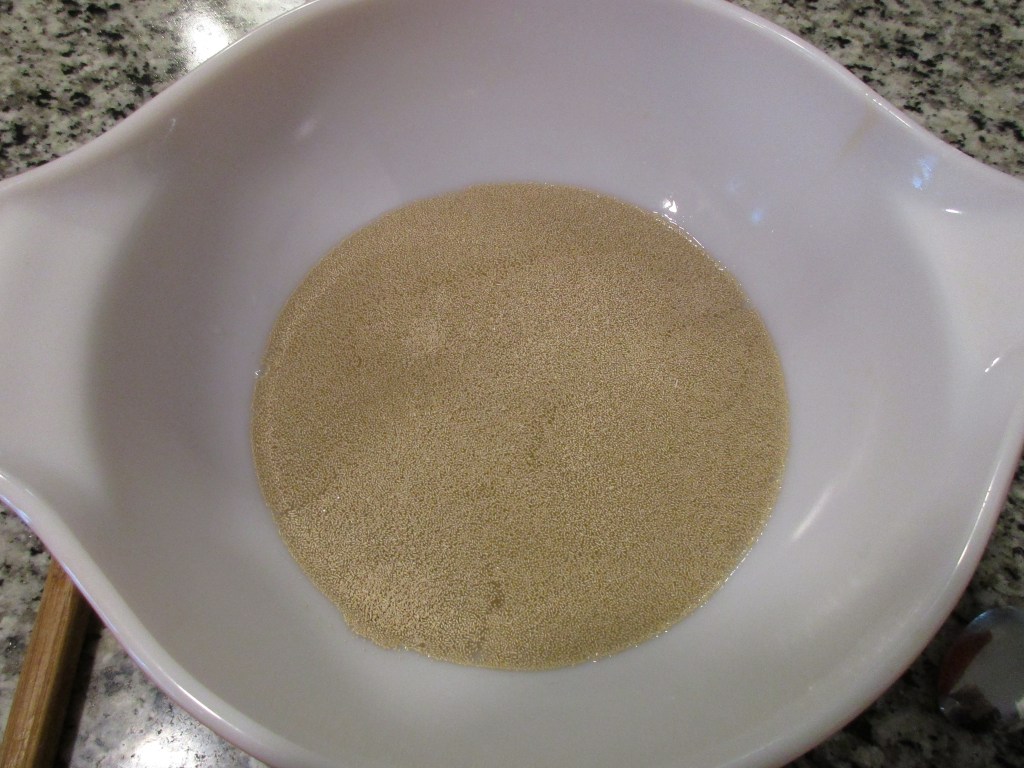
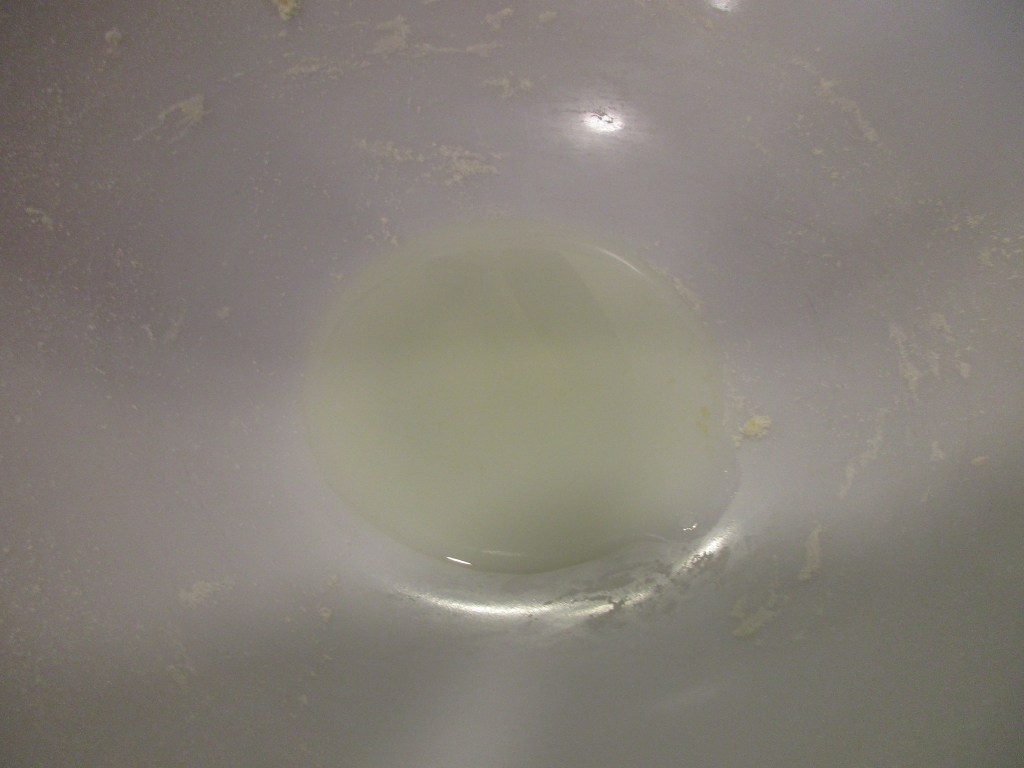
Dissolve the honey in the water and pour into the large bowl. Sprinkle in the yeast and let stand 5 minutes or until the yeast has proofed. This is to make sure that the yeast is still alive and working.

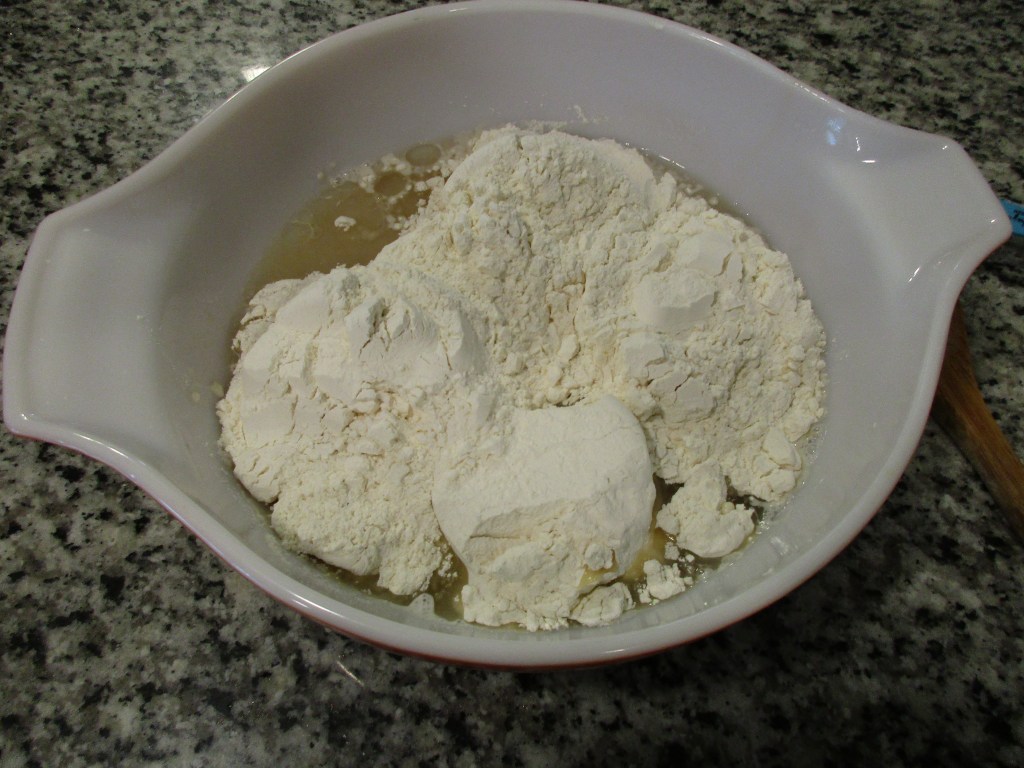
Once the yeast has been proofed, pour in the ¼ cup of oil, and mix together with the yeast mixture. Then add in the five cups of flour and salt. Mix with a strong wooden spoon. (If you don’t have a wooden spoon, wash your hands, roll up your sleeves and mix it by hand. It will be messy, but some famous bakers only do it this way.) Your dough will look a bit shaggy, but it will be fine.

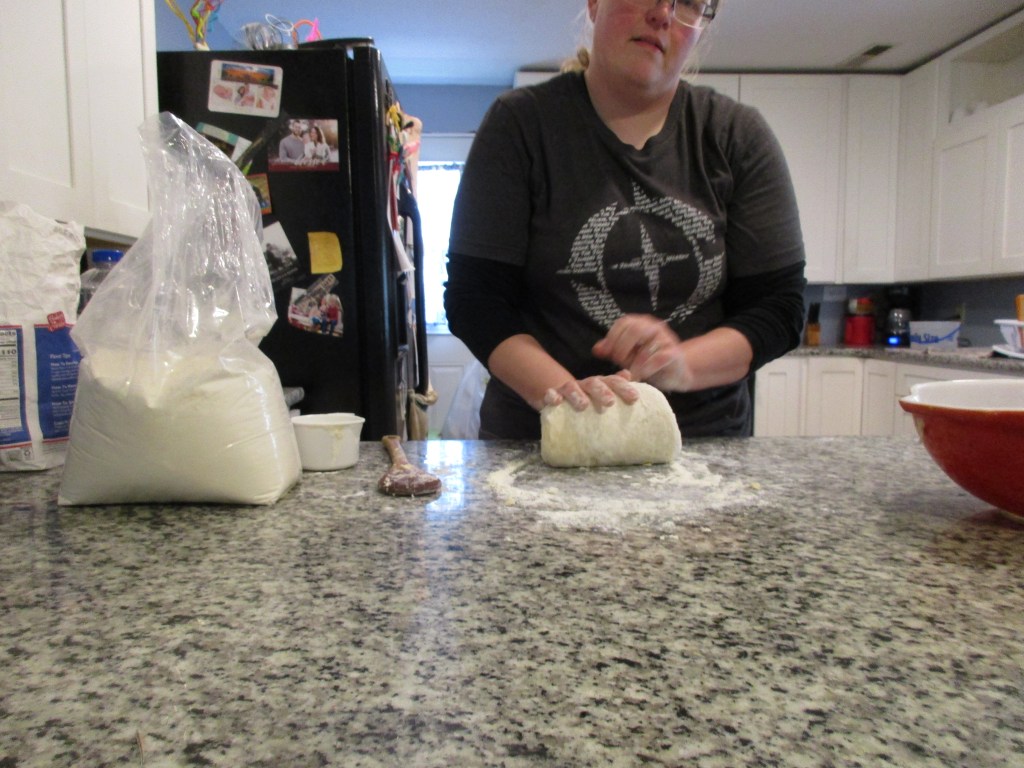
Dust your work surface with flour and scrape out your dough onto the floured surface. Use your hands and little flour to clean up the sides of your mixing bowl. You will be using this bowl for the bread to rise in later.


Start kneading your bread. The bread will feel gritty. You are going to keep kneading the bread until that gritty feeling is gone and the dough begins to feel smooth. This took me 10 minutes of kneading to get to that point. I added additional flour onto the work surface when the dough seemed to be sticking to the counter or to my hands.

There will come a point, at around the five-minute mark, that the dough will feel tacky, but it is not sticking to your hands. Do not add any more flour at this point and keep kneading the bread. You will start to notice a significant change in the feel and texture of the dough at this point. Yes, this is an arm and shoulder exercise, but it will be worth it in the end.
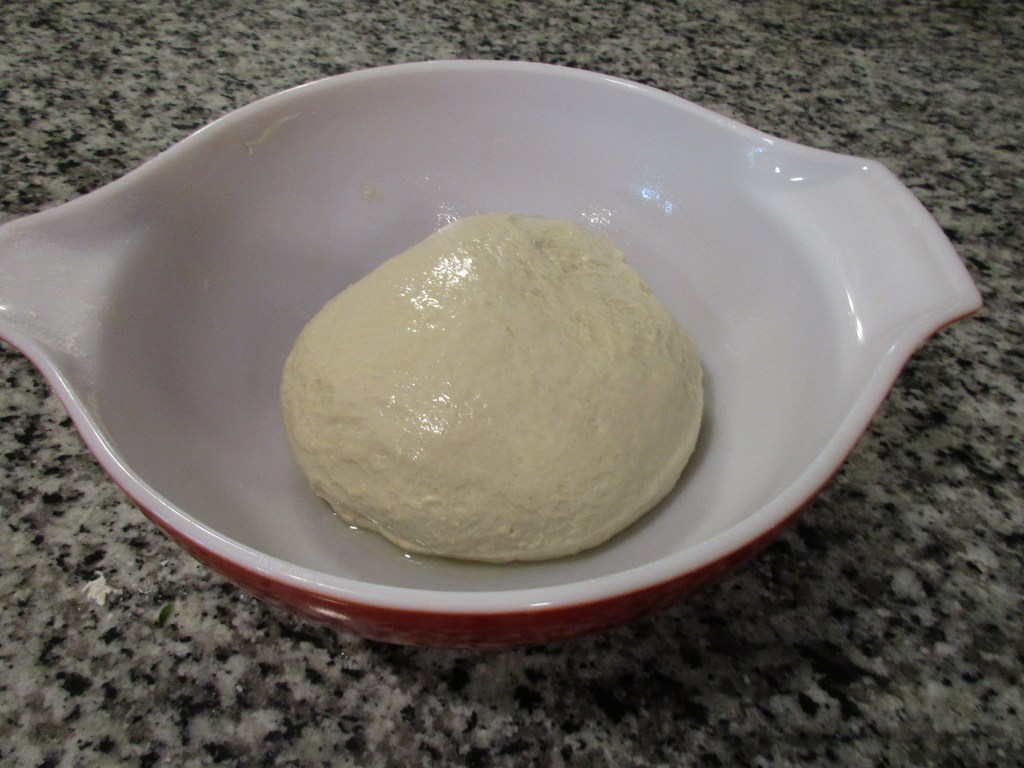
Once the dough is smooth, put the dough seam side down on the counter and go wash your hands. Now return to your mixing bowl. You will need to put in about 2 Tablespoons of oil into the bottom of the bowl. Use your hands to rub oil all over the sides of the bowl.

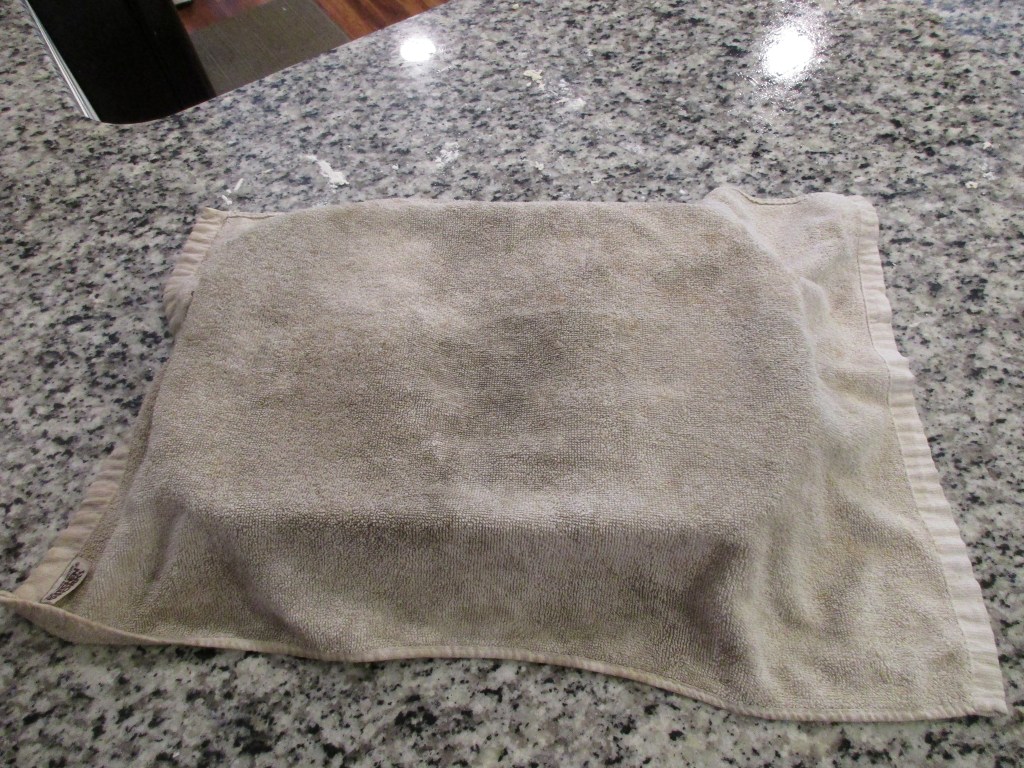
Use your hands to oil the top of the dough (smooth round side) and then place the dough seam side down in the bowl. Cover your dough with plastic wrap or a damp kitchen towel.
Today’s warm place in the kitchen was the top of the refrigerator. If you notice, I do have another bowl on top of the fridge. That is my sourdough dough doing a slow rise. It will become pizza dough for tomorrow night’s dinner.

Now you let the dough rise for one hour. You can use this time to wash any dishes you have, read a book, make something else, or just rest. If you are like me, the hour will go fast. Set a timer if you need the reminder.
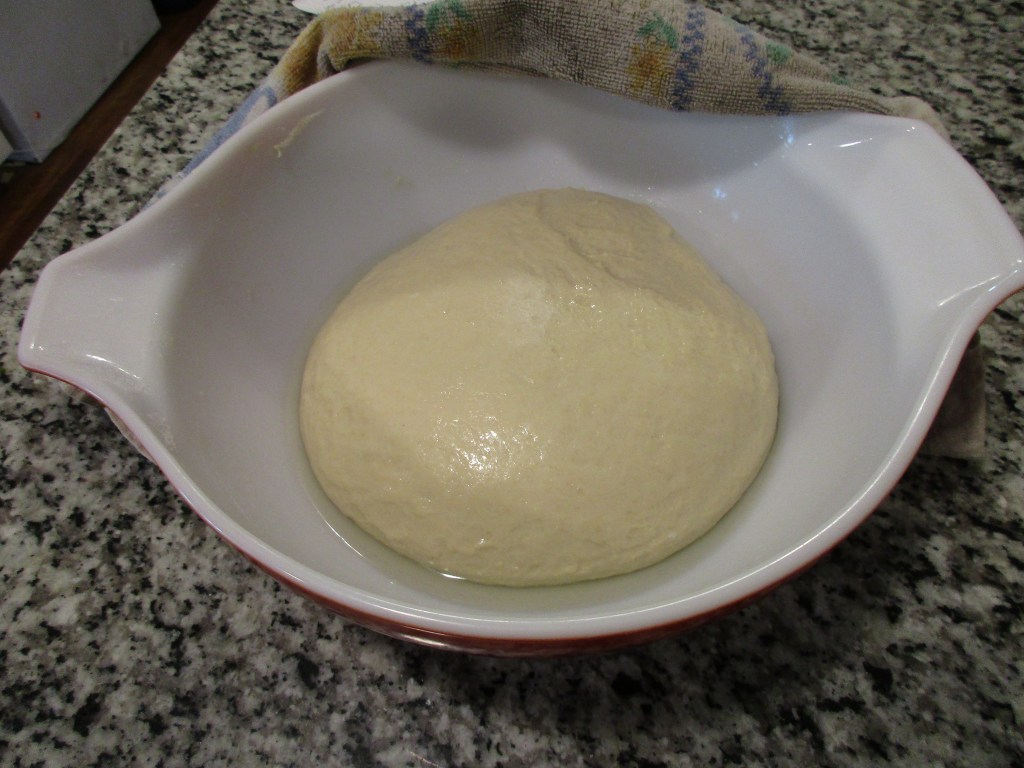
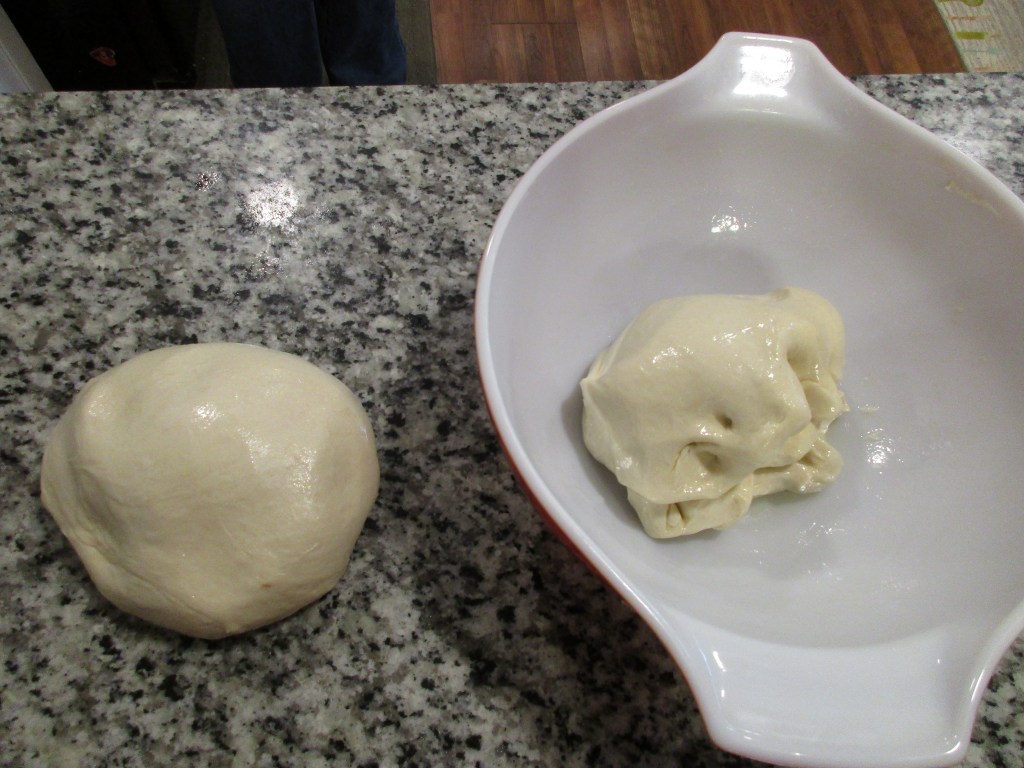
Take down your bread and look at it. At this point, it should have doubled in size.
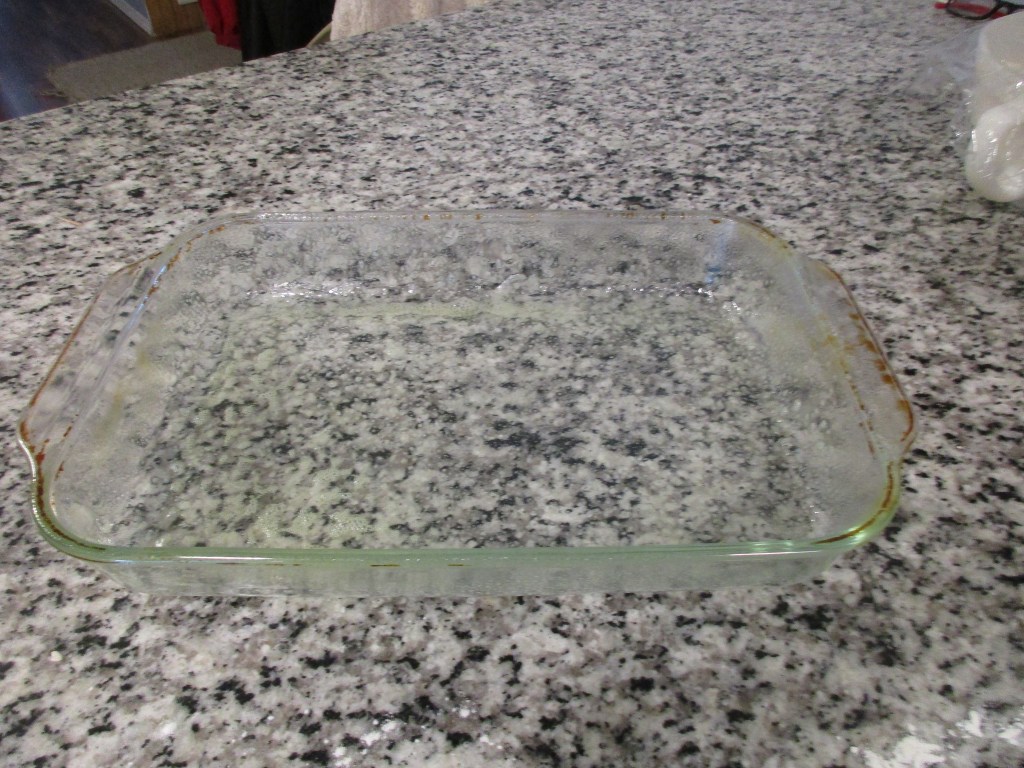
At this time, you need to get your bread pan greased well. Here is not the point where you skimp on your oiling. Don’t have big puddles of oil, but make sure that all surfaces are oiled well. You don’t want the bread to stick. What if you don’t have a bread pan? This recipe I will be making bread in my 9×13 glass casserole dish. There is nothing extra that you need to think about purchasing to make this recipe.
Use your hand and deflate the dough. Some people say to “punch down” the dough, but a simple hand is all that is needed to deflate the bread before shaping.

Divide your dough in two. Take one piece of dough and roll it into a rectangle that is about as wide as your bread pan and nearly twice as long. Think about getting it around 9 inches wide and 13 inches long.
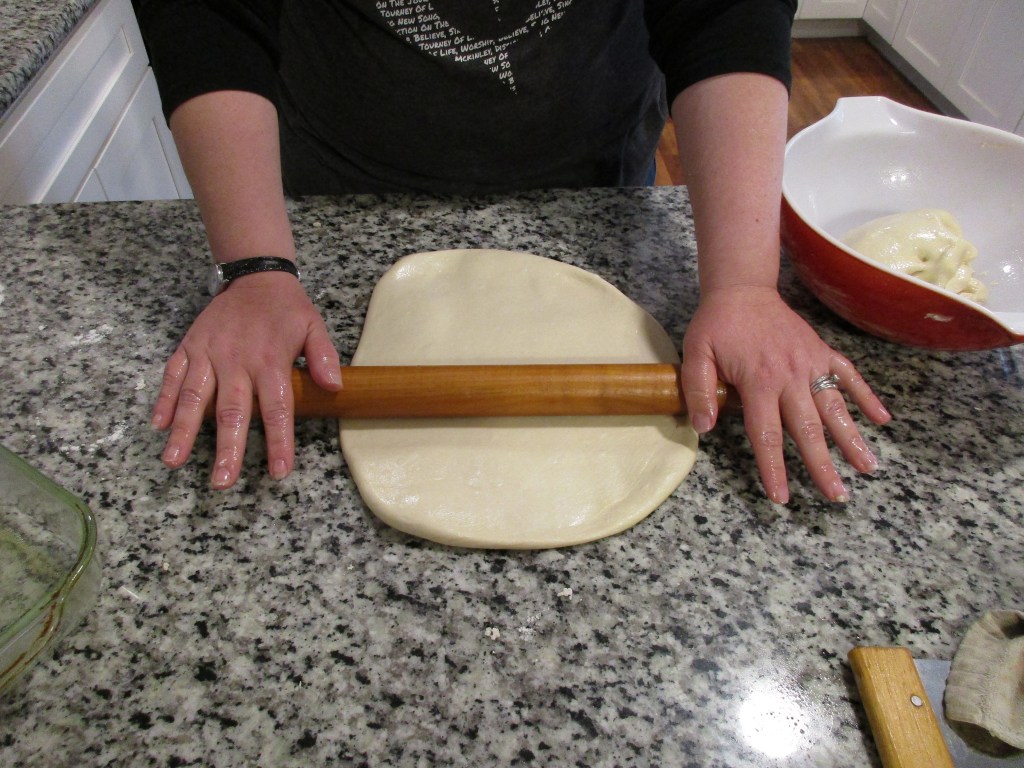
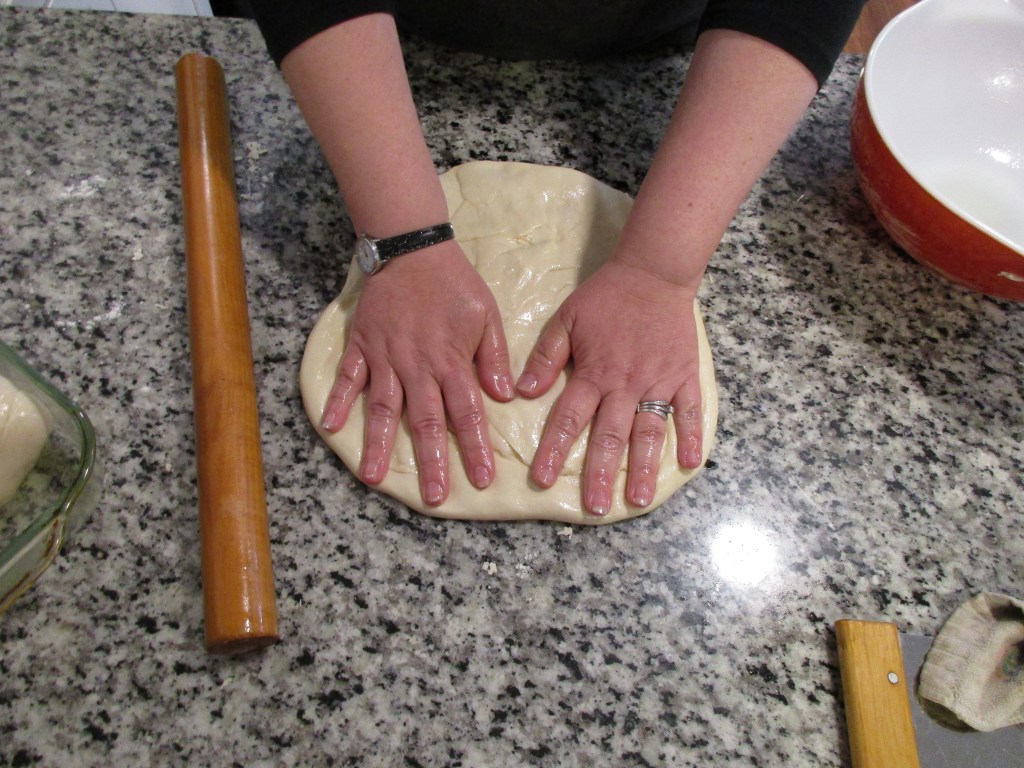
No rolling pin? Your dough should be oiled well enough that you can push it and stretch it out into the rectangle shape.
Now you will need to start from the top and begin rolling the dough into a log shape. Tuck in the ends of the dough, so you will have a loaf shape with your dough.
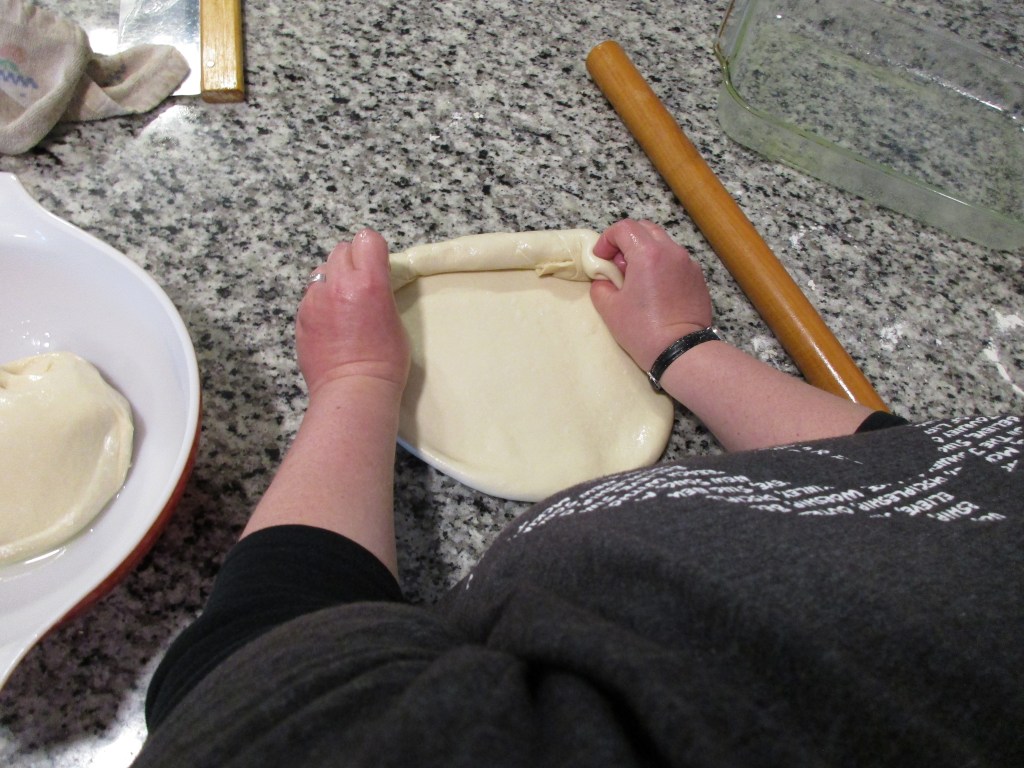
Roll out the second dough round and place them short ways into the 9×13 casserole dish. They will get wider and probably won’t get to be as tall as a loaf you buy at the store, but they will taste the same when they are cooked.

Now you will need to cover your loaves and place them back in your warm spot in the kitchen. You will need to pre-heat your oven to 405 degrees F right now. Let the bread rise for another hour.

The bread will have doubled in bulk by this time. You should notice a difference when you remove your cover from the bread.

Place the bread into your 405-degree F oven and set a timer for 25 minutes. Since the loaves are more freeform, they will cook faster than if they were in a bread pan.

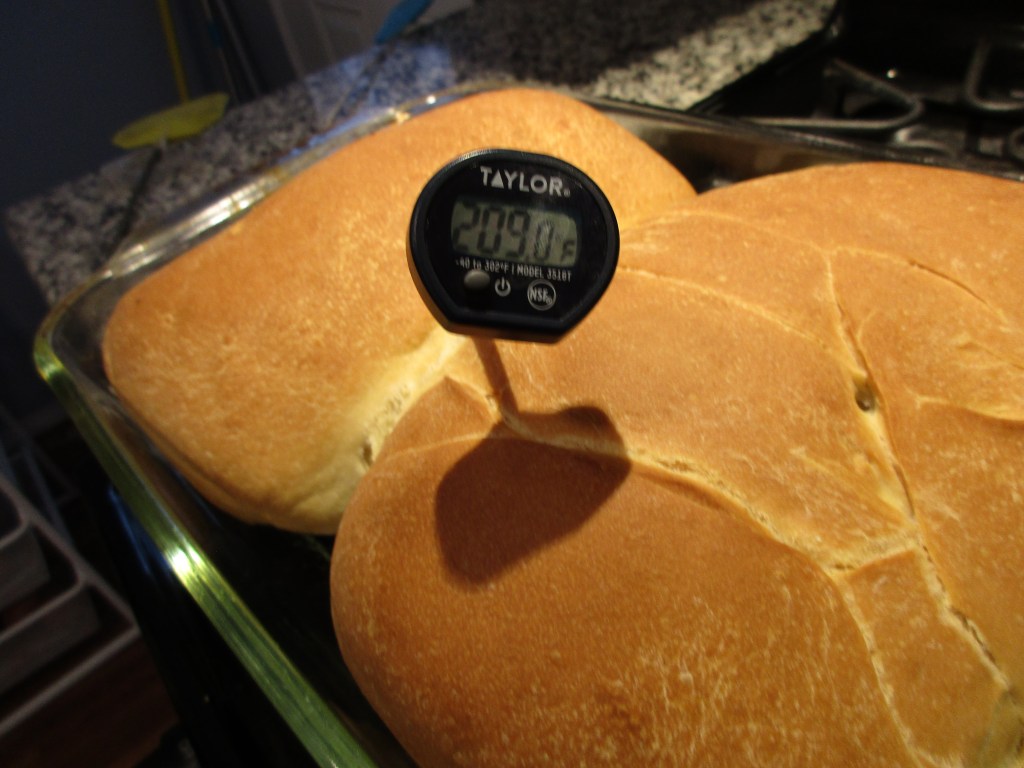
When your timer goes off, check the loaves to see if they are all the way cooked. If you have an instant read thermometer, check the temperature. Your loaf will be fully cooked when it reaches around 205-210 degrees F.

If your bread is not up to temperature, keep cooking it for another 10-15 minutes. Mine took another 15 minutes to fully cook. Resist the urge to go and crank up the temperature on the oven. You will just end up burning your bread and then it won’t be any good. Just relax and enjoy the smell of fresh bread baking in your house.
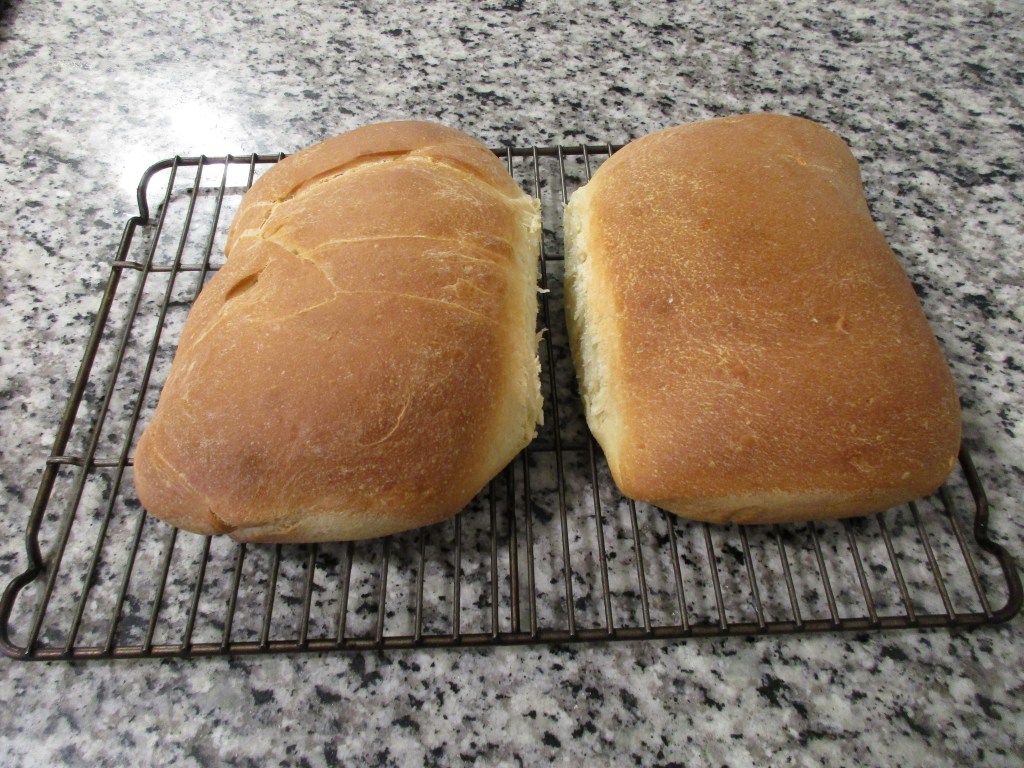
Once you bread is fully cooked, CAREFULLY remove the loaves from the pan and let them rest on a cooling rack. If you leave it in the pan, the steam from the cooling bread will make the bottom crust wet and mushy.
You are supposed to let bread sit for at least two hours before cutting it open to eat it. It will cut better, but nothing can beat hot fresh bread. Just wait at least 15-20 minutes so you won’t burn your hand on the steam.
Enjoy your bread you made from scratch!
